Hard Drive Upgrade Install Guide
Add The Second Hard Drive (continued)
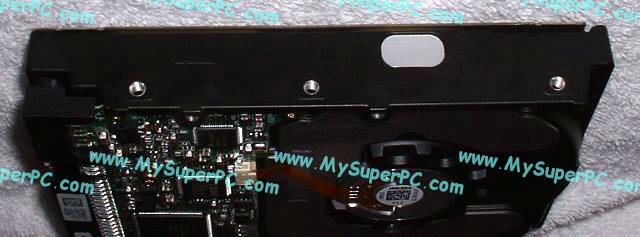
The hard drive has holes on the side which are used for the mounting screws as shown here. Like most hard drives, the IBM Deskstar 120GXP 80GB has places for 6 screws, three on each side. On the IBM Deskstar 120GXP 80GB hard drive (and this was also true for my old IBM Deskstar 75GXP 45GB hard drive), some screws could be longer than others. In fact, three of the six screws could be longer since they had more clearance to the hard drive itself. For my hard drive upgrade and install, I used a total of six round-head machine screws, size 6-32. Three of the screws were 1/4 inch in length and three of the screws were 3/8 inch in length. Click on the picture to see it enlarged.
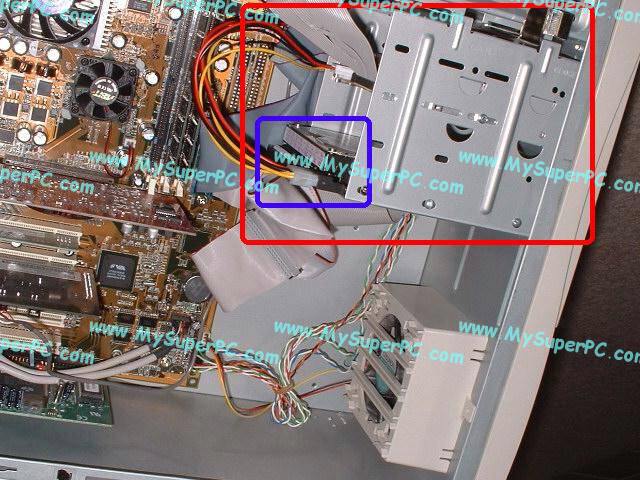
Here's a picture taken inside My Super PC before the new hard drive is installed. The case I use, the Antec KS-282, holds the 3.5 inch drives such as the hard drives inside a "drive cage". The drive cage is handy since it makes installing the hard drives a little easier. This picture shows the drive cage circled in red and the old hard drive which will eventually be replaced circled in blue. Click on the picture to see it enlarged.
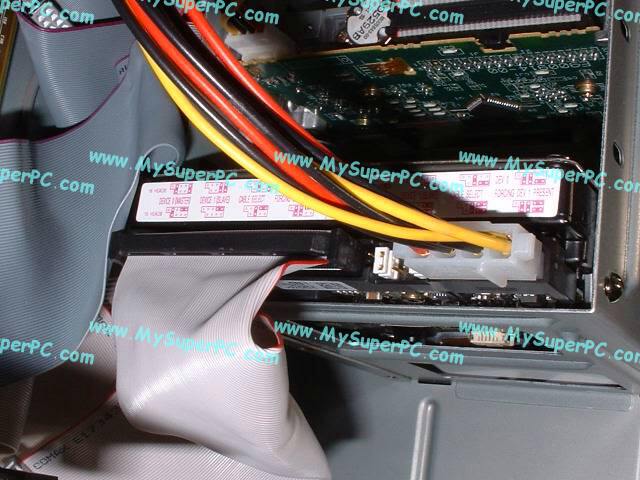
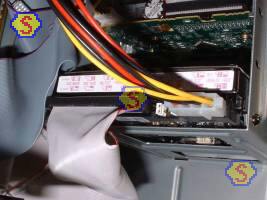
Here's a closer view showing the contents of the drive cage before the new hard drive is installed and still containing the old hard drive. The backside of the old hard drive looks similar to the backside of the new had drive since both are IBM Deskstar hard drives, just different models. You can see the backside of the hard drive is in three sections. The leftmost section is where the IDE cable connects. The jumper pins are in the middle. You can see the jumpers on the old drive are set in the master position, which makes sense since it's the only hard drive in My Super PC. The rightmost section is for the power connector. Click on the picture to see it enlarged.
Skip Ahead
© 2001-2015, Rob Williams, all rights reserved.
|

|