A hard drive upgrade is not difficult. The step-by-step instructions here show how I did a hard drive upgrade for one of my own computers which is a legacy version of My Super PC. The hard drive upgrade strategy I used is to first install the new hard drive as a second hard drive, then copy (clone) the old hard drive contents to the new hard drive, and then remove the old hard drive, leaving the new hard drive installed in its place. These steps are written for upgrading a hard drive installed as the master, but can be adapted for any hard drive upgrade. Instead of adding a second hard drive to increase capacity, chances are that installing a hard drive upgrade is a better option than to add a second hard drive.
In my opinion, it's better to upgrade the hard drive in this fashion
instead of adding a second hard drive. There are many reasons for this.
First, it's best to keep the original hard drive as a backup until you
are absolutely sure that all is well. Second, it's likely that the
hard drive being replaced is slower than the new hard drive. The older
hard drive likely has a slower rotation speed, a slower seek speed, and
no cache buffer. Since the older, original hard drive is the startup
hard drive and contains the operating system, it is still the hard drive
being used for many high running functions. Third, adding a second hard
drive changes the drive letters on the optical drives, such as a CD-ROM,
CD-RW or DVD device. For example, if the CD-RW drive was drive D:
before the second hard drive was added, it becomes drive E: after the
second hard drive is added. This happens for sure under Windows 95,
Windows 98 and Windows 98SE. There's nothing you can do to prevent it
from happening. I'm pretty sure this also happens under Windows ME.
Windows XP I don't know. This is quite inconvenient, as you can
imagine. Many applications, once installed, assume the drive letter
from which they were installed is forever the drive letter from which
they should run. In addition, recovery CD's that came with the computer
may make assumptions about the drive letters. All of this can be
avoided by upgrading the hard drive rather adding a second hard drive.
Fourth, a second hard drive places more burden on the computer than one
hard drive. Nothing alarming at all, but worth noting. There is a
little more demand placed on the power supply and the second hard drive
interferes to some small extent in airflow cooling efficiency. Fifth,
it's unlikely that keeping the old hard drive in use makes much of a difference in terms of
total hard drive space since it is probably relatively small in capacity -
which is why it's being replaced. If things do get to the point
that the new hard drive is also running out of space then it would be
better to repeat the hard drive upgrade procedure for all of the same
reasons - and I've done this myself.
Things To Know Before You Start
This guide describes how to upgrade an IDE hard drive. IDE hard drives
use a parallel ATA (PATA) interface. This guide does not apply to
serial hard drives. Serial hard drives use a serial ATA (SATA)
interface.
The interface over which the hard drive communicates to the computer
will be either ATA/33, ATA/66, ATA/100 or ATA/133. The lower the
number, the slower the interface. I would not worry about this. I
mention it so you'll know not to worry about it. If, for example, the
computer being upgraded supports ATA/66 then it will still work with an
ATA/100 hard drive. The speeds can be mixed. In many cases a computer
built supporting a slower speed will be upgraded with a hard drive that
supports a faster speed. The hard drive will run at whichever interface
speed is slower, either the interface speed of the computer (actually,
the interface speed of the motherboard component of the computer) or the interface speed of the
hard drive - but this won't make a big difference in overall system
performance since even ATA/33 is often not a restricting factor.
Different computers support different maximum capacities of hard drives.
That is to say, not all computers are able to support a 120GB hard
drive, or a 250GB hard drive, or maybe even an 80GB hard drive. The
older the computer, the smaller the maximum is likely to be. Computers
built in the late 90's may support maximum capacities of only 3.2GB or
6.4GB. And up from there as the years go by. The maximum hard drive
capacity that a computer is able to support is determined by what is
supported in the computer's BIOS and what is supported in the operating
system. For example, Windows 98SE supports a maximum hard drive
capacity of 137.4GB. If the BIOS of a particular computer supported a
smaller hard drive capacity then the BIOS would be the constraining
factor. If the BIOS supported a larger hard drive capacity then Windows
98SE would be the constraining factor. The only way to know the maximum
capacity supported by the BIOS in the computer is to consult the
documentation or technical support for the computer. If the hard drive
used has a greater capacity than what is supported by either the BIOS or
the operating system, then the hard drive will still work with the
computer, it will just work at the smaller capacity. One common
limitation on fairly modern computers is the 137.4GB barrier. For more
on this particular barrier, a good source of information is this site.
There are ways to increase the hard drive capacity limitation built into
the computer, such as by upgrading the BIOS in the computer, upgrading
the operating system, and/or adding new hard drive controllers via the
PCI slots. It's beyond the scope of this hard drive upgrade guide to
detail the steps in these types of upgrades, or to discuss which
upgrade(s) would be most appropriate for different computers.
The hard drive is connected to the motherboard in the computer by an IDE
ribbon cable. An IDE ribbon cable should be 18-inches in length. I
have seen them in other lengths, such as 19-inches and 24-inches, but
only 18-inches is an appropriate length for an IDE ribbon cable. An IDE
ribbon cable may be 40-wire or 80-wire, which is sometimes
not-quite-correctly referred to as 40-pin or 80-pin (in fact, both the
40-wire and 80-wire IDE ribbon cables have the same number of connecting
pins, namely 39, but the 80-wire IDE ribbon cable has more ground
connections to reduce interference). The hard drives available today
should be used with 80-wire IDE ribbon cables for maximum performance.
What You Need For A Hard Drive Upgrade
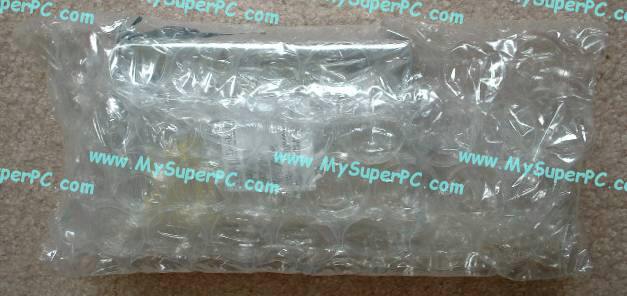
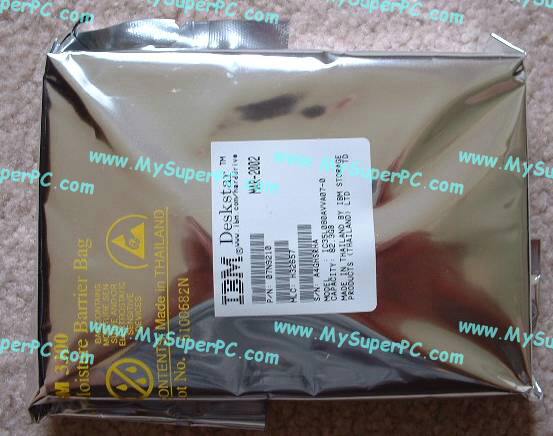
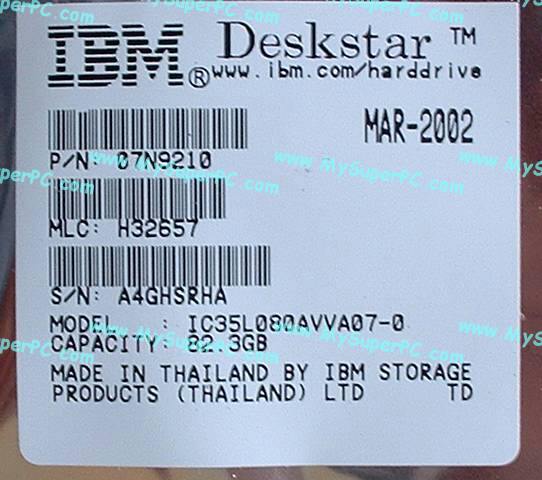
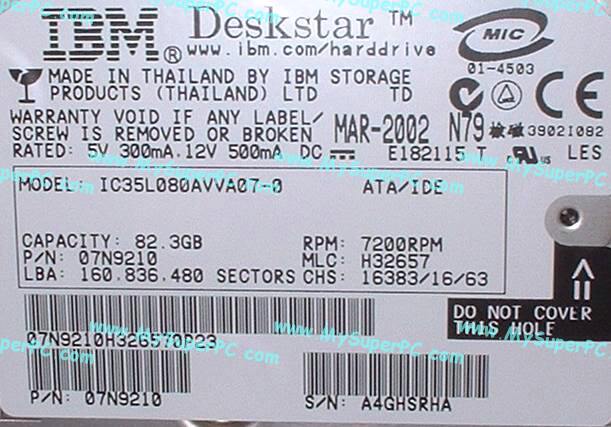
The new hard drive for the upgrade. I chose to upgrade my IBM Deskstar 75GXP 45GB hard drive with an IBM Deskstar 120GXP 80GB hard drive. In addition to having a greater capacity, the new hard drive is also much faster and much quieter! I purchased the OEM version (so called "white box") of the hard drive because it's cheaper. The OEM version does not include mounting brackets, but many computer cases don't need them, including the Antec KS-282 computer case I'm using. The OEM version does not include mounting screws, which I do need, but these are easy to obtain from Radio Shack or Home Depot.
Here is typical OEM packaging. Bubble wrap with the hard drive sealed in an antistatic bag. Click on any picture to see a larger image.
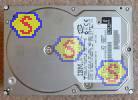
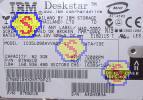
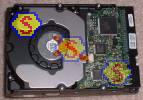
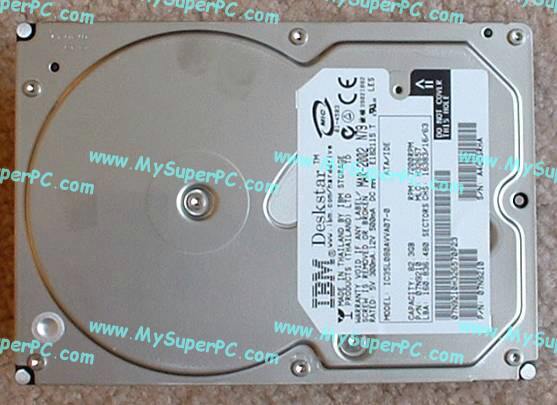
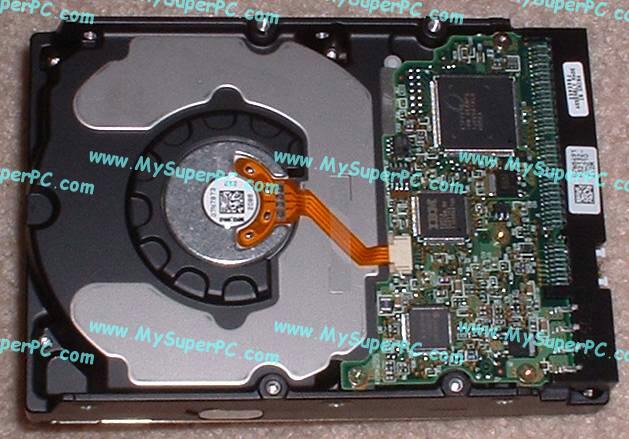
Here is how the hard drive looks outside of the packaging, including top and bottom views. Click on any picture to see a larger image.
While I think highly of the IBM/Hitachi line of hard drives, there are other brands that have good reputations and make suitable alternatives. I mention these and provide an up-to-date overview of hard drives on the My Super PC - Hard Drive page.
My hard drive upgrade steps use a standard parallel ATA (PATA) IDE hard drive. Here are the PATA hard drives I recommend today.
| Description
| Where I Would Get It Today
| Today's Price
| Comments
|
| Western Digital Caviar SE 160GB 7200rpm Parallel ATA100 |
Amazon
|
$69.99 |
Free shipping! OEM version. Standard IDE/PATA (parallel ATA) hard drive.
Clicking the link takes you directly to it.
|
| Western Digital Caviar SE 320GB 7200rpm Parallel ATA100 |
Amazon
|
$89.99 |
Free shipping! OEM version. Standard IDE/PATA (parallel ATA) hard drive.
Clicking the link takes you directly to it.
|
|
Skip Ahead
© 2001-2015, Rob Williams, all rights reserved.
|

|