Hard Drive Upgrade Install Guide
Install The Second Hard Drive (continued)
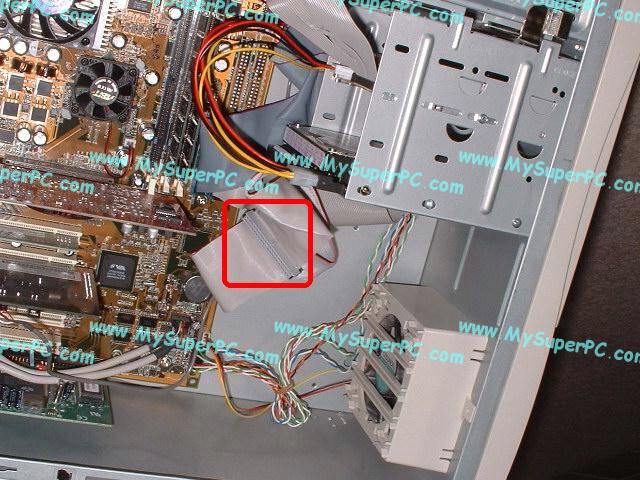
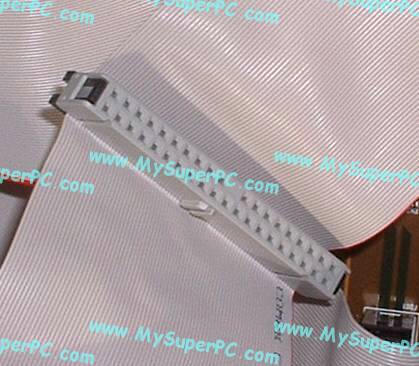
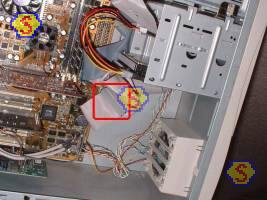
Let's look again at the interior shot. I've circled the slave IDE connector. There are three connectors on the IDE cable and they are color coded. I've circled in red the gray connector on the IDE cable. This is the connector for the slave hard drive. The master hard drive connector is black and is still plugged into the old hard drive in the drive cage. The connector on the IDE cable which connects to the motherboard is colored blue. Click on the picture to see the picture enlarged.
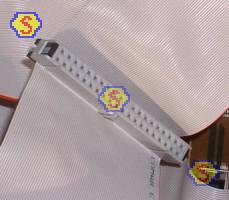
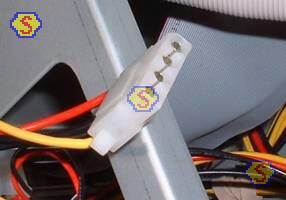
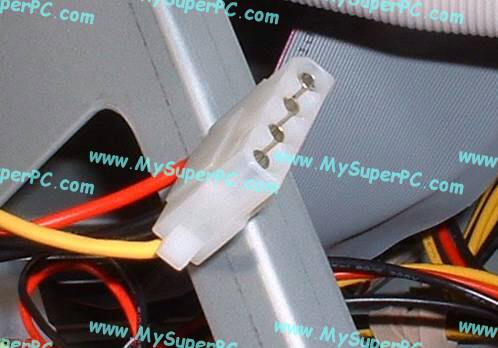
The new hard drive will plug into this gray connector as the slave device. And you'll need a free 4-pin power connector like the one shown to connect the new hard drive to the power supply. Click on any picture to enlarge it. Like many things that connect inside the computer, both the IDE connector (the gray one, in this case) and the power connector are "keyed" by their shapes or some other means so that they cannot be plugged in "upside down". For example, if you enlarge the picture of the gray connector it's easy to see that the center of the connector includes a plastic bulge and a blocked out pin receptable to prevent it from being plugged in incorrectly.
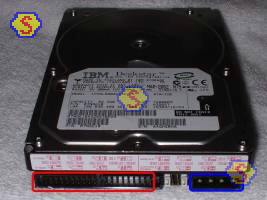
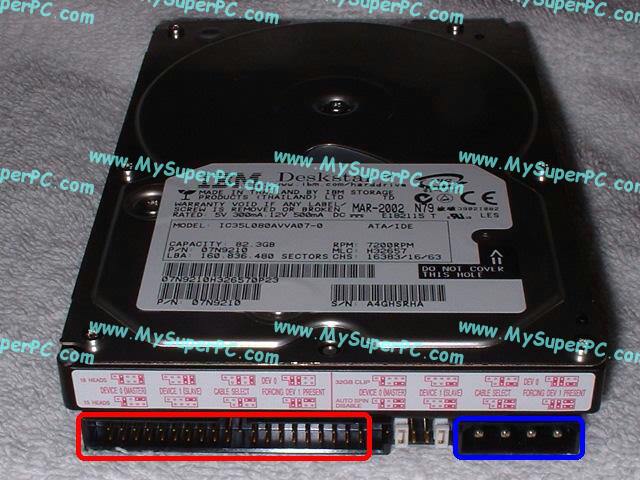
This picture shows the backside of the hard drive where the connectors plug in. There are three sections on the backside of the hard drive. The leftmost section circled in red is where the IDE cable connects. The jumper pins are in the middle. The rightmost section circled in blue is for the power connector. Click on the picture to see it enlarged.
Skip Ahead
© 2001-2015, Rob Williams, all rights reserved.
|

|