Computer Assembly - How To Assemble A PC
Install The Computer Case Fans
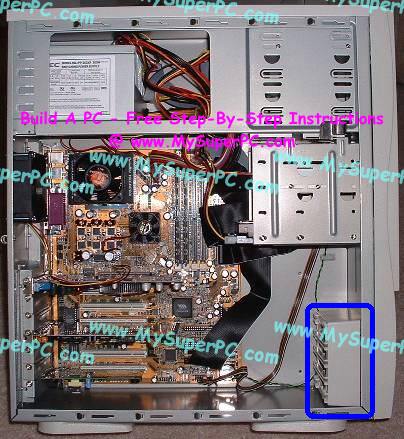
Ok. Everything checks out, so we're ready to close up the computer case. That means it's finally time for the computer case fans.
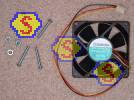
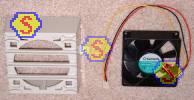
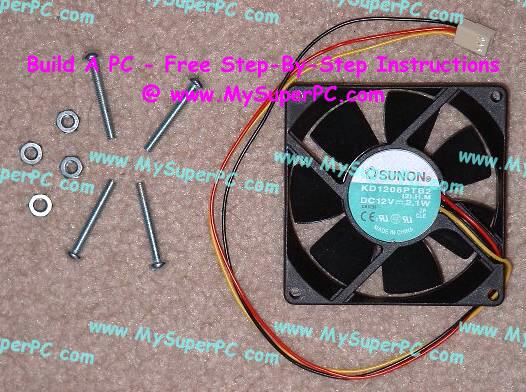
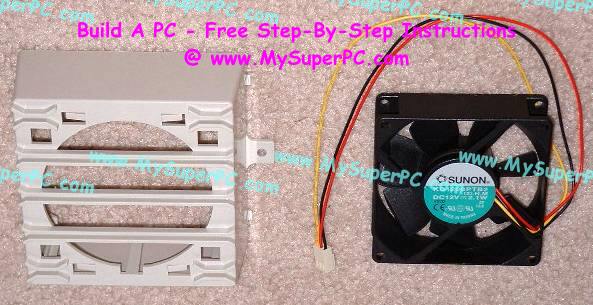
The two computer case fans I chose, the Sunon KD1208PTB2, strike a good balance between noise level and airflow amount. They are the standard 80mm size. Case fans can come with either a 3-pin connector that connects directly to the motherboard or a 4-pin connector for connecting to a plug from the power supply. I'd rather have the 3-pin connector so that none of my power supply connectors are tied up with the case fans. Besides, the motherboard has 3-pin connectors for just this use, so may as well use them.
It's more important to have exhaust than intake, but I think you should really have both. Exhaust airflow should equal or exceed intake airflow. Since the two case fans I'm using are identical, I'm guaranteed to have the exhaust airflow exceed the intake airflow - guaranteed because the power supply also has an exhaust fan, although one much less powerful than a separate 80mm case fan.
Here is the Sunon case fan along with it's mounting hardware. I used four round-head machine screws, size 8-32, length 1-1/4 inch (1.25 inches) with nuts, which I puchased at Home Depot. Others have been known to use double-sided tape and even wire-wrap ties to good effect.
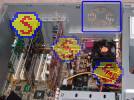
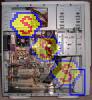
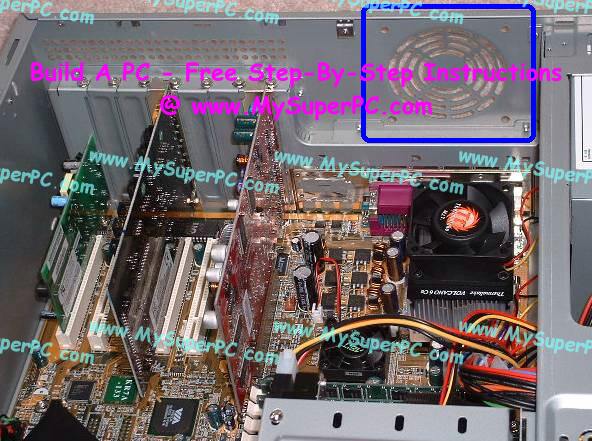
The exhaust case fan is secured to the inside of the case at the location shown. The tricky questions is - which way does the fan face? Well, at least for the Sunon fan, the fan should face with its label toward the case wall.
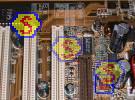
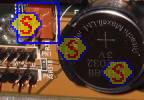
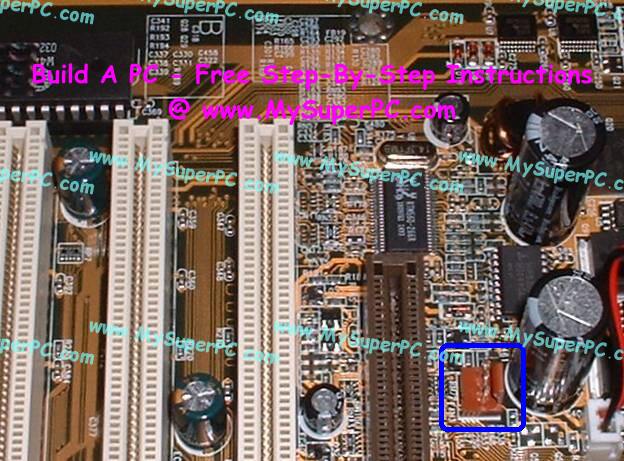
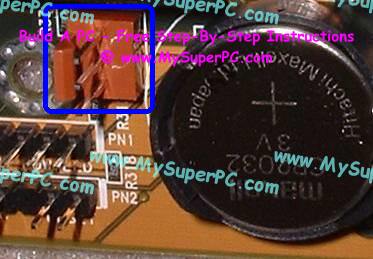
The 3-pin connector coming off the Sunon exhaust case fan can be plugged into any 3-pin socket on the motherboard. There is one in close proximty to the exhaust fan location next to the AGP slot, so that's the one I used. The 3-pin connector is keyed to the socket so that it cannot be plugged in the wrong way around.
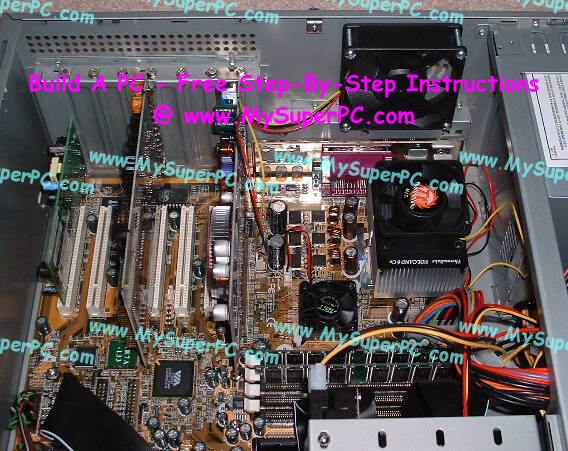
When installed, it looks like this.
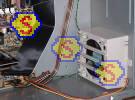
The intake fans installs a little differently. The Antec KS-282 case comes with a special plastic mounting bracket specifically designed to hold a 80mm case fan. It's located here:
The mount pops right out. As before, you need to be careful to install the fan such that the airflow is moving in the intended direction. For the Sunon fan, that means placing the mount on top of the fan with the fan facing as shown.
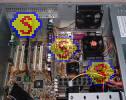
As with the exhaust fan, the 3-pin connector coming off the Sunon intake case fan can be plugged into any 3-pin socket on the motherboard. There is one in close proximty to the intake fan location next to the ob-board battery, so that's the one I used. The 3-pin connector is keyed to the socket so that it cannot be plugged in the wrong way around.
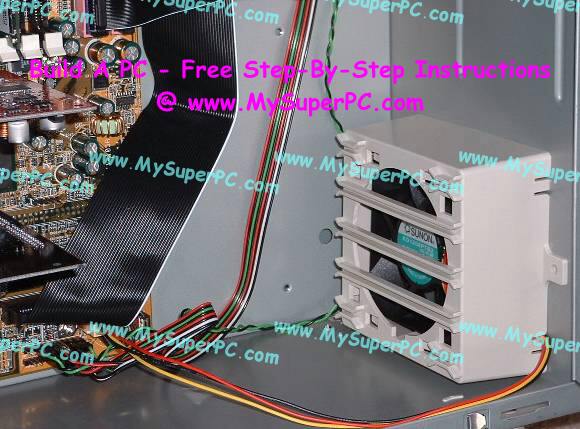
Snap the fan inside the mounting bracket and snap the mounting bracket back into the computer case. When installed, it looks like this. Notice the wires coming from the fan have been led through one of the short side slits in the mounting bracket, and that the wires are as much out of the airflow as possible.
As you'll see below, the case fans made quite a difference! I took temperature measurements as I went along, with the computer case on, to see the effect of each case fan. The ABIT KR7A-133 motherboard comes with a CD-ROM which includes a utility called Hardware Doctor that displays the temperature readings of the CPU and System. Temperature settings should be checked when the CPU is under load, so I had the Prime95 Torture Test running. I took a reading after the temperatues stabilized, which took about 30 minutes. Here are the results I achieved. All temperature readings are in Centigrade.
| CPU | System | Cooling Components | Comments
|
|---|
| 68.5
| 42.0
|
No case fans installed.
| Youch! These temperatures are too high, especially the CPU temperature!
|
| 58.5
| 35.0
|
Exhaust fan installed.
| Wow! Looks like an exhaust fan is pretty important!
|
| 56.0
| 28.0
|
Both and intake and exhaust fan installed.
| Quite a nice improvement in the system temperature. But not much effect on the CPU temperature, unfortunately.
|
Back to My Super PC - Home Page
Skip Ahead
Back to My Super PC - Home Page
© 2001-2011, Rob Williams, all rights reserved.
|

|