Computer Assembly - How To Assemble A PC
Install The Motherboard Into The Computer Case
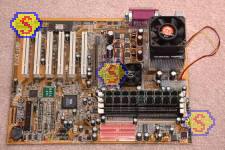
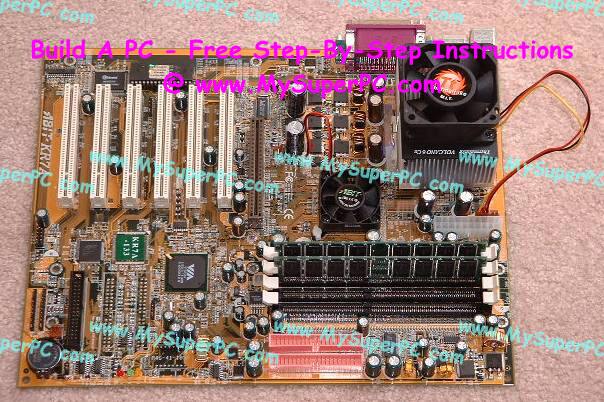
The motherboard is ready to be installed in the computer case. At this point, the processor, CPU cooler and memory modules have been installed onto the motherboard so it looks like this.
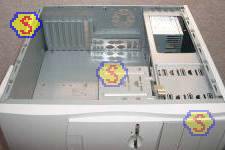
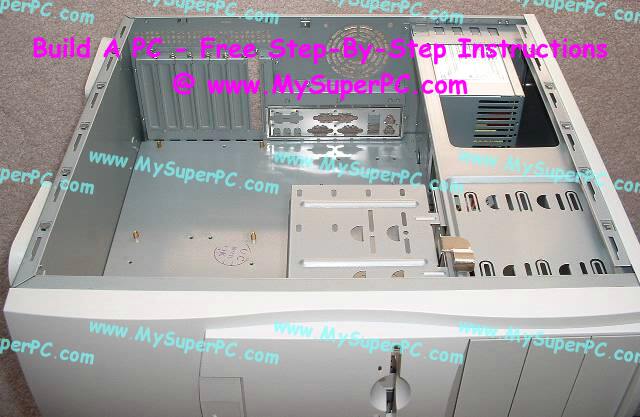
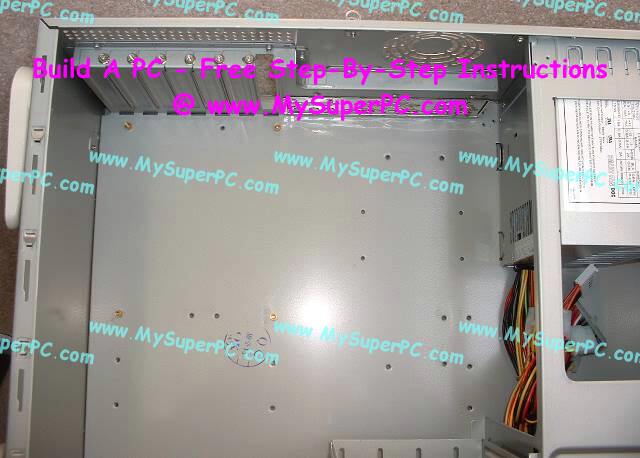
Remove the right-hand panel from the computer case and lay the computer case on its side. The motherboard will lay flat inside the case, resting on brass-colored mounting posts.
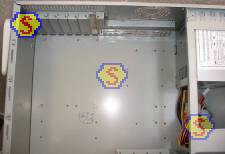
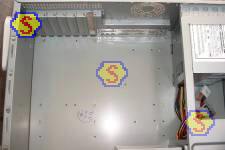
This shot is taken looking straight down into the case at the position in which the motherboard is to be installed. The orientation of the motherboard when it is inside the case is the same as the picture of the motherboard above. It's easy to see in the enlargement of the picture below that the case comes with four brass-colored mountings posts already installed. There are holes in the case for additional mounting posts, but not all of them are appropriate for all motherboards.
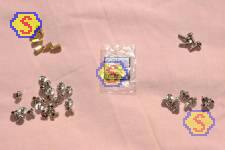
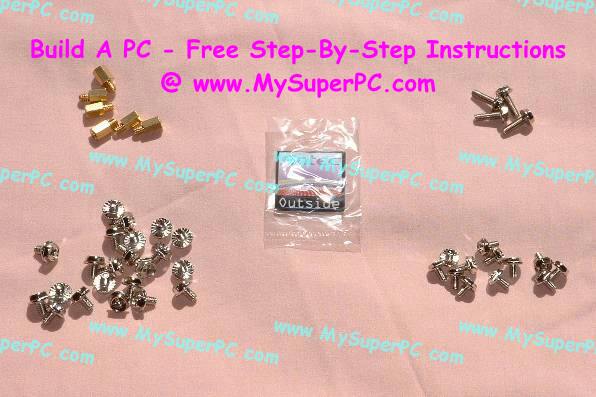
The motherboard is ready to be affixed to the case. This is done using parts that came with the computer case, shown in the picture below. What's needed are some, but not all, of the brass-colored mounting posts shown in the upper-left of this picture, as well as some, but not all, of the mounting post screws shown in the lower-right of this picture. At this point, pair up screws that fit easily into a corresponding mounting post, including the four mounting posts pre-installed inside the case.
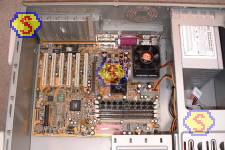
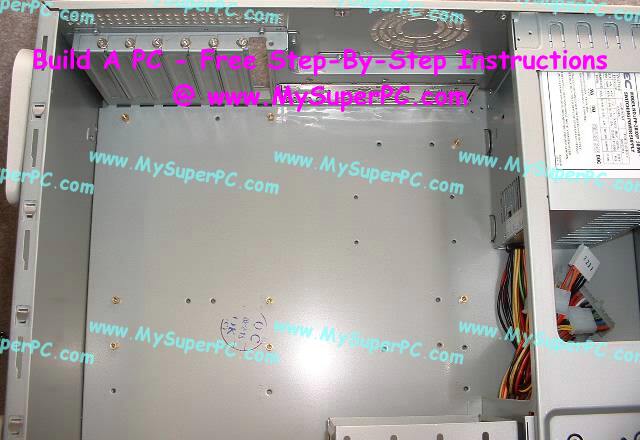
The motherboard is affixed to the case by inserting mounting post screws through holes in the motherboard and into the mounting posts. The first step is to determine in which case holes the mounting posts should be installed. The ABIT KR7A-133 motherboard has 9 holes for using with mounting posts. Place the motherboard down into the case, aligning four of the holes in the motherboard with the four pre-installed mounting posts. All four pre-installed mounting posts align with motherboard holes in the ABIT KR7A-133. In addition, 4 of the remaining 5 holes in the motherboard have a corresponding case hole for a mounting post, so 4 additional mountings posts can be installed. The 4 additional mountings posts should be carefully tightened (not overly tightened) into place using a 5mm socket wrench. After installing the additional mounting posts, the interior looks like this.
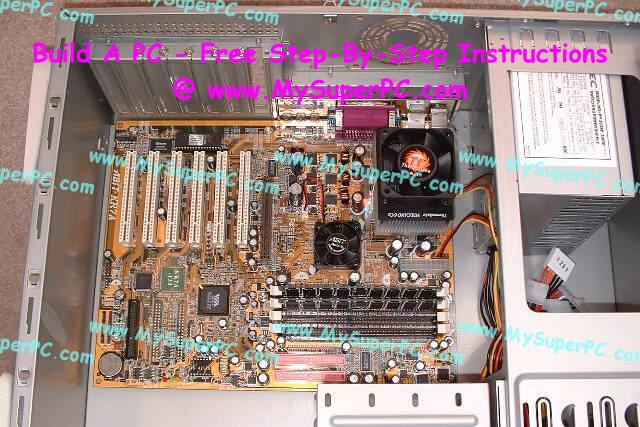
Now rest the motherboard down inside the case on the mounting posts. Insert the screws through the holes in the motherboard and into the mounting post, getting each screw started but not at all tight - just far enough in the mounting post so the screw does not fall out. The motherboard hole in which it is most dificult to get a screw started is the one in the upper right of the board near the CPU cooler. I suggest starting with this one since if the screw gets away from you and rolls underneath the motherboard then it's easiest to retrive if no other screws have been started. This was the only tedious screw for the ABIT KR7A-133 motherboard. I had to use needle-nose pliers to lower the screw down to the hole between the CPU cooler and power supply frame. The rest were easy to place into their holes with just my fingers. Once all 8 have been started, all 8 can be tighted into place one at a time, again starting with the one in the upper-right corner.
Back to My Super PC - Home Page
Skip Ahead
Back to My Super PC - Home Page
© 2001-2011, Rob Williams, all rights reserved.
|

|