Computer Assembly - How To Assemble A PC
Install The CD-ROM, CD-RW Drive
The next boot test will be done after the drives are installed, namely the floppy drive, hard drive and CD-ROM drive. The going is a little easier if the CD-ROM is installed first, but it doesn't make that much difference. Unplug everything from the rear of the computer, including the power cord, monitor cable, keyboard cable, and mouse cable.
The steps shown on this page include the installation of the CD-ROM. If you're using a CD-RW instead then the install steps are exactly the same.
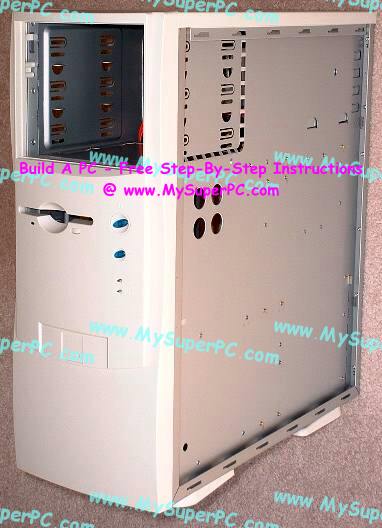
Remove the left panel of the computer case. Doing so means both side panels are removed. Both side panels need to be removed in order to access the mounting screws. The left panel of the computer case is secured in place by two screws in the back. Once those are removed it's an easy matter to slide off the panel.
Carefully use a small, flat-head screwdriver to pry out the 5-inch bay face plates. The CD-ROM will be installed in the top 5-inch bay to optimize airflow inside the computer case since that will place it as out of the way as possible. But it's easier to install the CD-ROM drive if all three face plates are removed. Notice that the second and third 5-inch bays have a metal bracket behind the face plate. These are easily hand removed by twisting them loose.
Like so.
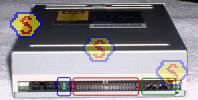
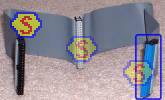
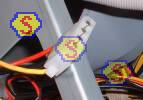
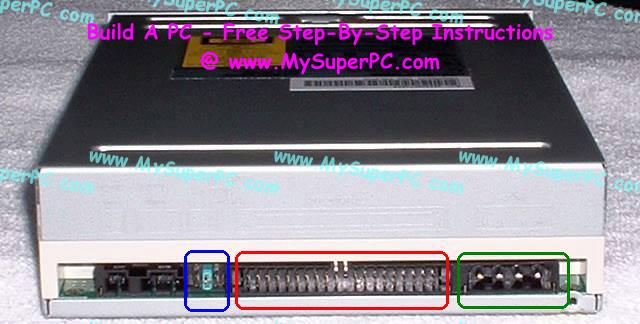
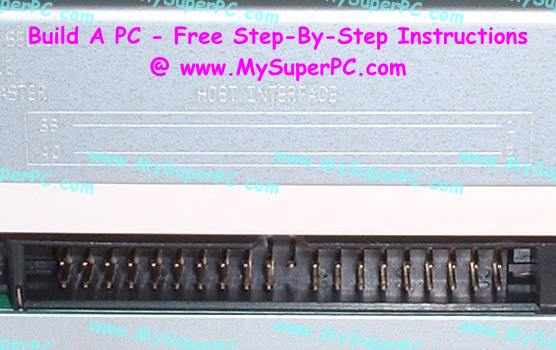
A rear view of the Lite-On 52x CD-ROM looks like this. Three items are circled. The first in blue is the jumpers. The second in red is the IDE socket. The third in green is the power receptacle.
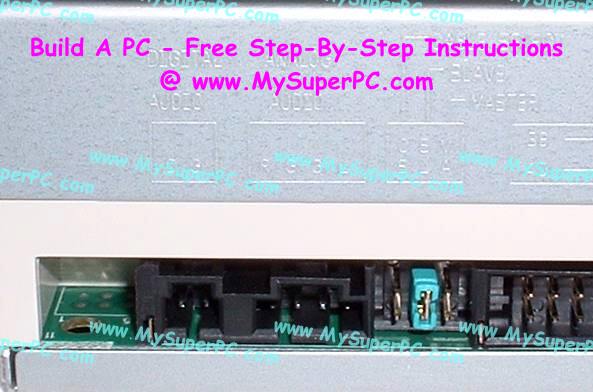
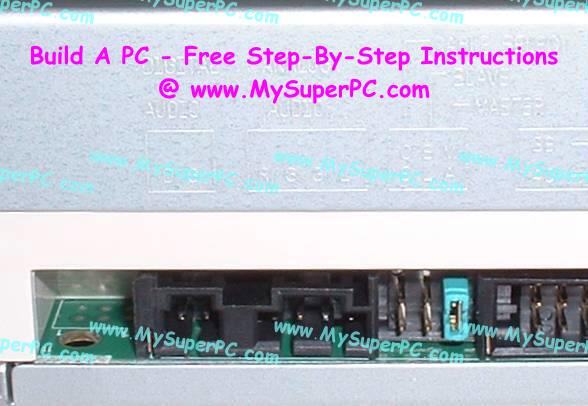
The jumper setting defaults to the "Slave" setting out of the box. Since the CD-ROM is being installed on its own IDE, namely IDE 2, the jumper needs to be changed to the "Master" setting. Although the jumper is small, it's easy enough to move it as needed with just your fingers. The CD-ROM manual will show the proper jumper setting for "Master", but it's also etched into the back of the Lite-On 52x CD-ROM as you can see in the enlarged picture.
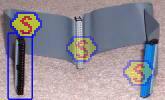
| Slave setting |
Master setting |
|
|
Slide the CD-ROM into the first 5-inch bay. It will rest on mounting plates that protrude a short distance from the sides. Align the front of the CD-ROM with the front of the computer case. Locate the holes in the CD-ROM drive for the mounting screws on either side. Use the mounting screws that came with the CD-ROM drive to secure it into place. As with really anything that requires multiple screws, get all 4 screws started, but not tight. Once all four screws are started, tighten each of them in turn.
It's not important that the CD-ROM be in exactly the desired alignment with the front of the computer case at the moment, but it is important that it be properly secured since the next step is to plug in connectors to the back of the CD-ROM. The CD-ROM needs to be secure since some pressure is required to ensure the connectors are fully in place.
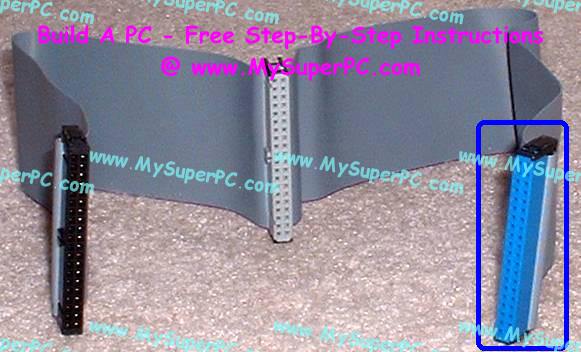
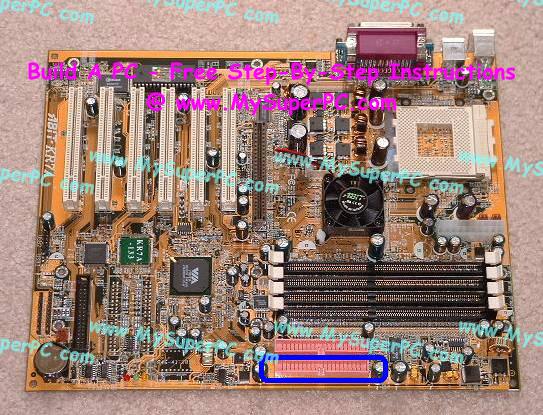
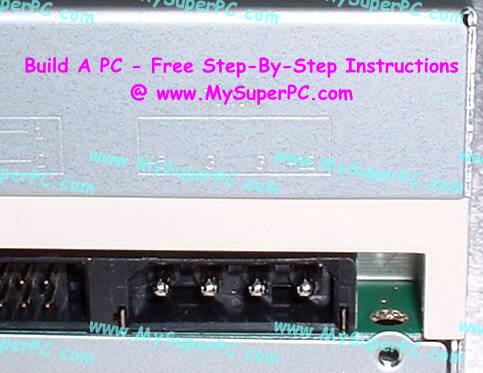
Using the Belkin 18-inch IDE cable, connect the CD-ROM to the motherboard. The blue connector on the IDE cable plugs into the IDE 2 socket on the motherboard. The connector is keyed so it can only be plugged in one way.
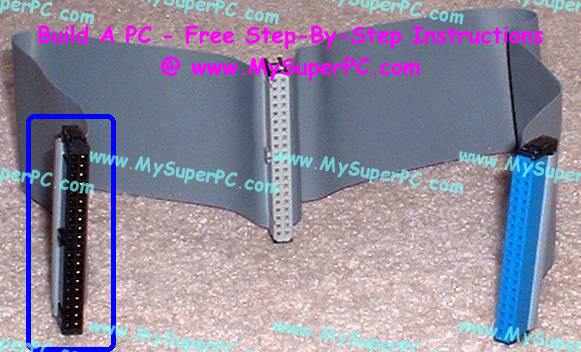
The black connector on the Belkin 18-inch IDE cable plugs into the IDE socket on the CD-ROM drive. The connector is keyed so it can only be plugged in one way.
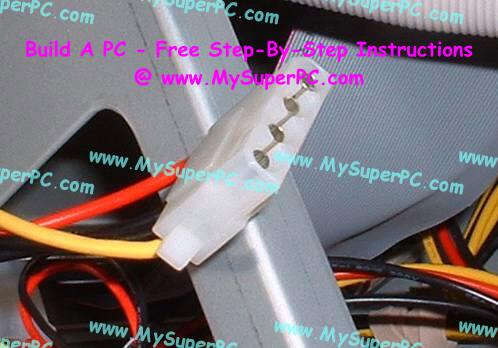
Select a 4-pin power connector from the bundle of power connectors coming out of the power supply like the one shown and connect it to the rear of the CD-ROM drive in the power receptacle. The connector is keyed so it can only plug in one way.
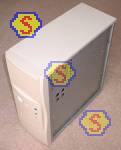
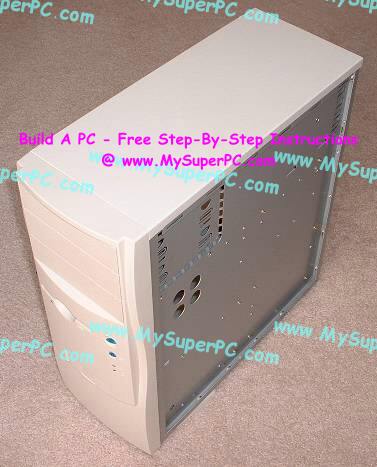
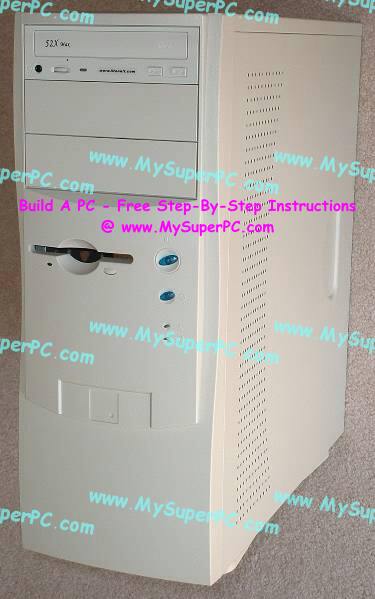
Snap the two face plates for the unused bays back into place. You may need to loosen the CD-ROM mounting screws a little to raise the CD-ROM just a touch in order to give the two face plates room to be reinstalled. You may want to loosen the CD-ROM mounting screws a little and nudge the CD-ROM into eye-pleasing alignment with the face plates. Of course, if you do loosen the screws to make these tiny adjustments then tighten the screws again when you're done. The computer looks like this.
Verizon High Speed Internet
 is a leading provider of DSL service, with rates starting at only $14.99 a month.
There is a home networking option, for homes with multiple computers.
Toll-free support, and a money-back guarantee!
is a leading provider of DSL service, with rates starting at only $14.99 a month.
There is a home networking option, for homes with multiple computers.
Toll-free support, and a money-back guarantee!

Back to My Super PC - Home Page
Skip Ahead
Back to My Super PC - Home Page
© 2001-2011, Rob Williams, all rights reserved.
|

|