Computer Assembly - How To Assemble A PC
The Computer Case and Power Supply
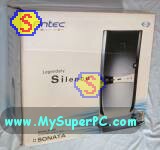
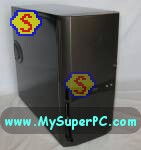
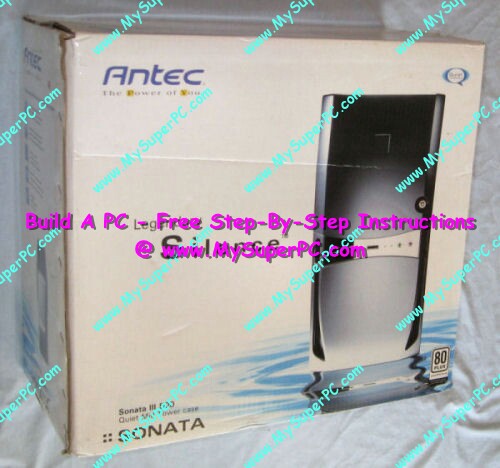
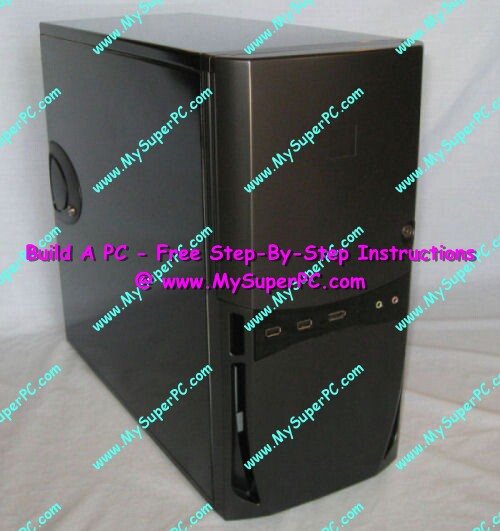
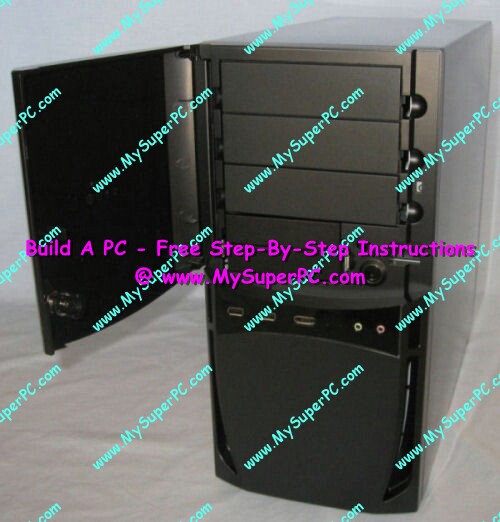
This is the Antec Sonata 3 computer case. The computer case frequently ships in its own box, as mine did.
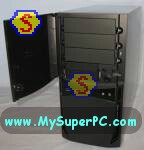
The Antec Sonata 3 computer case has the open bays behind a door, as can be seen in the second photo. Having the open drive bays behind a door, and one that locks as this one does, is not really a nuisance as I thought it might be, and is actually handy if you want to make sure that kids and others don't accidentally eject an optical disk.
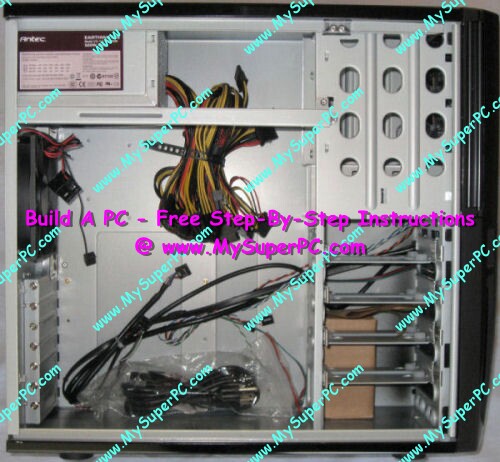
Packed inside the computer case is the black power cord that attaches to the power supply from the rear of the computer case to an electrical outlet, and a small, brown cardboard box that contains parts used to mount the motherboard inside the case.
The small, brown cardboard box includes brass colored mounting posts as well as screws of various sizes. The screws in the upper-left corner are used to secure the hard drive to the hard drive tray. The screws in the lower-right corner are bracket screws, for securing add-on cards inside the computer case. The brass posts in the middle are mounting posts, and the mounting post screws are in the lower-left corner. The mounting posts and mounting post screws are used to secure the motherboard to the interior of the computer case.
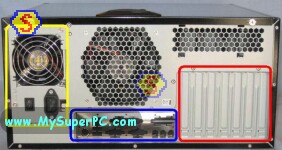
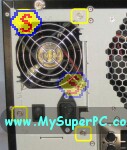
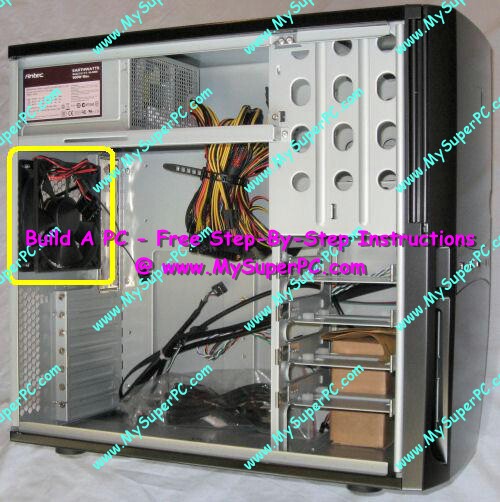
The Antec Sonata 3 computer case comes with a 120mm case fan for exhaust already installed as shown circled in yellow. In my experience, this is sufficient. Although the Antec Sonata 3 computer case provides room for an intake case fan, an intake fan adds very little cooling. However, it usually makes a noticeable increase in the amount of noise since it installs in the front of the computer case and the front of the computer is closer to the user. If computer case fans are needed then brand doesn't make much difference - I typically use Sunon case fans - as long as the fan provides a reasonable amount of airflow without being annoyingly loud. Get the size best suited for the computer case, which is most likely either 80mm or 120mm. Case fans that are 120mm in size tend to be quieter because they can spin slower than the smaller 80mm case fans and still produce the same amount of airflow. In addition, the actual noise made by 120mm case fans is lower in pitch, which is less intrusive.
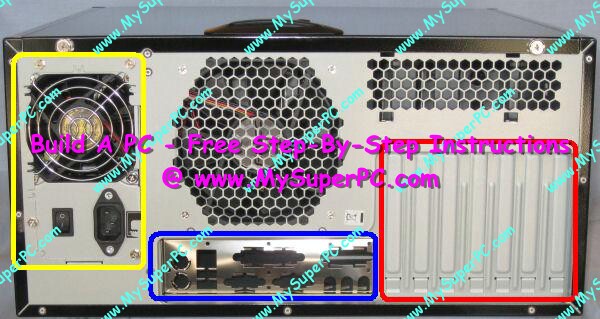
Here is the view of the rear of the case, resting on its side. This orientation is with the computer case lying flat as it does when the case is open to install components. When set upright, the power supply on the left - circled in yellow - is at the top. Circled in blue at the center is the I/O shield - the input/output shield - which provides access for external devices through USB, IEEE 1394 FireWire, and other means. Circled in red at the right are the slot covers for the expansion slots. Typically the slot covers are removed as part of installing an add-on card to provide access for connecting a device to the card, such as a monitor or modem. The Antec Sonata 3 computer case provides seven slot covers to support external access for up to seven add-on cards. The large round grid area above the I/O shield is an exhaust opening for the pre-installed computer case fan. And the rectangular grid area above the slot covers is a second opening for ventilation.
The computer case comes with the power supply already installed, but I removed it to give a better look at it. If a more powerful power supply is called for then now is the ideal time to swap it out since there is nothing else in the case. The particular power supply that comes with the Antec Sonata 3 computer case is an Antec EarthWatts 500-watt power supply. This is a good power supply and is sufficient for the component set I'm using.
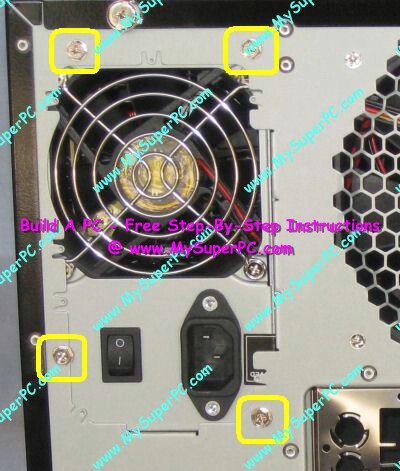
The power supply is easy to swap out (and actually, many computer cases do not include a power supply). All that's needed is to remove the screws that secure it in place, work the power supply out of the case, and insert and secure the new one with the same screws. This picture shows the back of the Antec Sonata 3 where the power supply is installed with the screws shown circled in yellow.
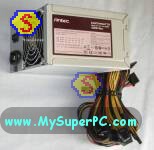
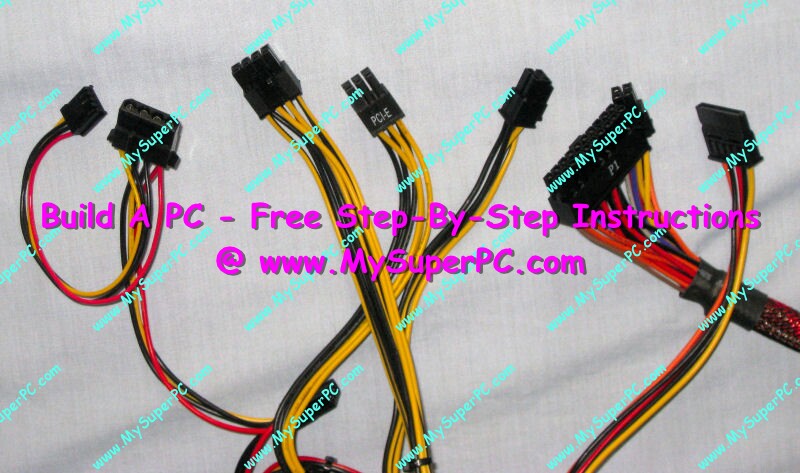
Here are the types of power connectors available from the Antec EarthWatts 500-watt power supply.
Leftmost is a 4-pin 3.5" Molex mini-power connector for the floppy drive.
Next is a 4-pin Molex power connector used most often for IDE drives - in particular the optical drive but also possibly other devices.
The next two connectors are an 8-pin and a 6-pin PCI-E power connectors used for PCI-E video cards.
The next two connectors are the ATX connectors that connect to the motherboard, a 4-pin connector arranged 2 x 2 and a 24-pin connector arranged 2 x 12.
And finally a SATA connector for connecting SATA drives - in particular the hard drive.
Back to My Super PC - Home Page
How To Build A Computer. Step By Step Instructions To Assemble. Skip To Any Assembly Step.
Back to My Super PC - Home Page
© 2001-2015, Rob Williams, all rights reserved.
|

|