Computer Assembly - How To Assemble A PC
The Hard Drive
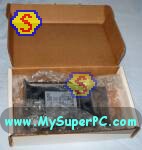
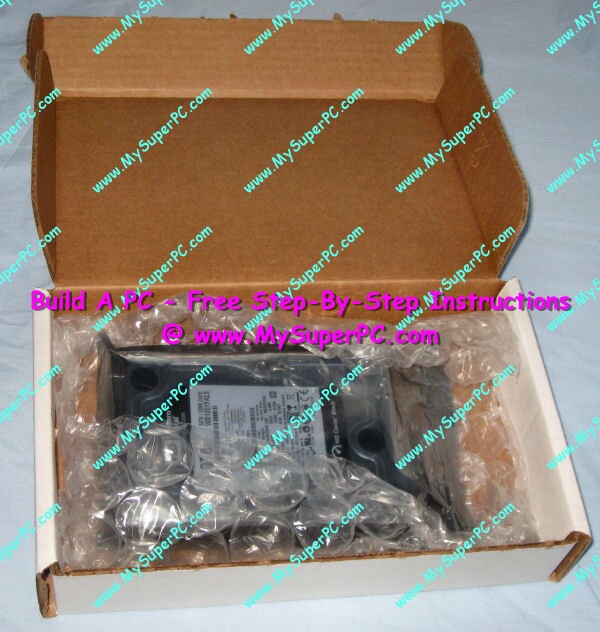
The hard drive I chose is the Western Digital Caviar Black 1000GB SATA hard drive, OEM version. It's an amazingly quiet and fast hard drive. I purchased the OEM version (so called "white box") of the hard drive because it's cheaper. The OEM version does not include mounting brackets, but the Antec Sonata 3 computer case I'm using doesn't need them. It also does not include mounting screws, which I do need, but these are included with the Antec Sonata 3 computer case.
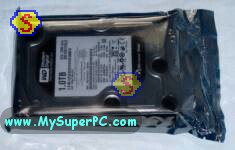
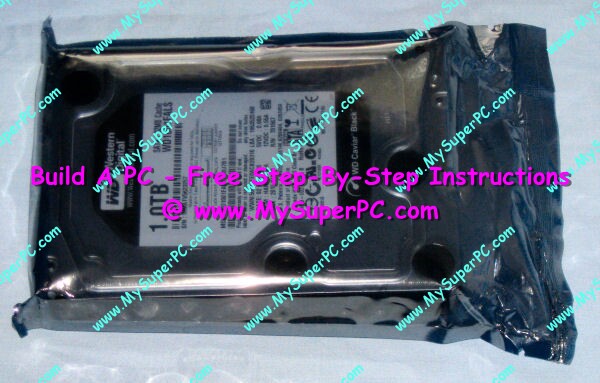
Typical OEM packaging is for the hard drive to arrive in an antistatic bag and wrapped in bubble wrap.
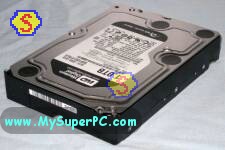
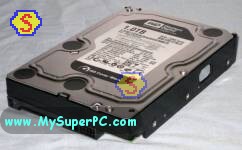
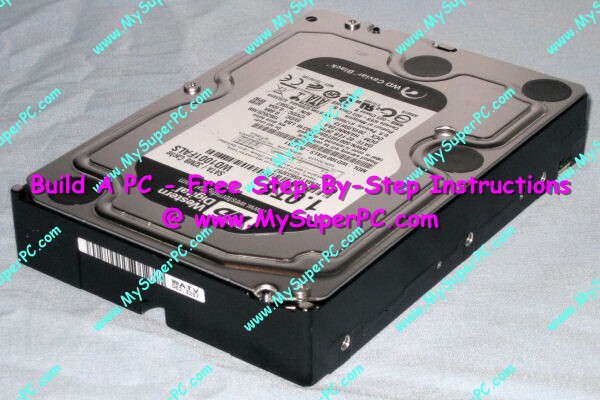
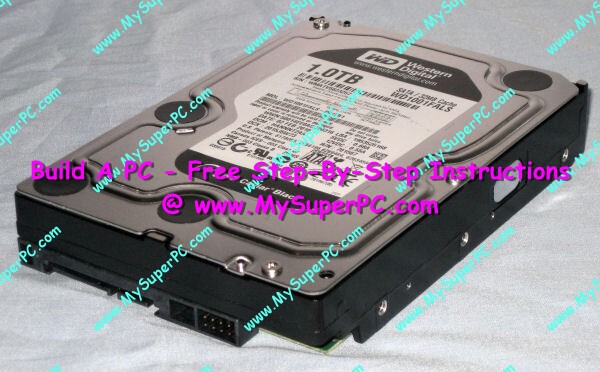
Here are front and rear shots of the hard drive.
Data Lifeguard Diagnostics
Data Lifeguard Diagnostics is available for free from Western Digital's Software Library Download page.
Data Lifeguard Diagnostics is used to certify the integrity of Western Digital hard drives. The diagnostics will be loaded by booting the computer from the CD in the optical drive once the hard drive is installed and prior to installing anything on the hard drive. Although it's not absolutely necessary to use the Data Lifeguard utility as part of the hard drive install, it's certainly a good idea. After all, we're talking about the integrity of the data on the computer! The ideal time to use Data Lifeguard is now, while the computer is being built, and prior to it's having anything valuable on it, so that the full battery of tests can be run, including the ones that write data. However even the read-only tests are worthwhile.
To find a similar utility for a hard drive made by a different manufacturer, check the My Super PC - Hard Drive page for reference links.
My complete recommendations for building a computer with quality components at unbeatable
prices is on my home page at
Build A Computer
Like My Super PC - Cost To Build A Computer. Here again are the recommendations for a hard drive!
| Description
| Where I Would Get It Today
| Today's Price
| Comments
|
| Western Digital 1TB RE4 SATA 3 Gb/s 7200rpm SATA 3 |
Amazon
| $60.00 |
OEM version.
Serial ATA III hard drive.
Clicking the link takes you directly to it.
Plenty of storage with 1000GB. Quiet, reliable and very fast.
|
|
Backup Tips - Protect Your Valuable Data.
|
| Westerm Digital 1 TB External Hard Drive |
Amazon
| $54.99 |
Free shipping!
Clicking the link takes you directly to it.
This external hard drive connects to the computer via a USB port. Then copy over critical files periodically using software like SyncBack.
|
| 2BrightSparks SyncBack |
2BrightSparks
| Free |
Free download!
Clicking the link takes you directly to the download page. The freeware version is near the bottom of the page.
Use a freeware utility like SyncBack to schedule automatic copy operations to your backup hard drive.
SyncBackSE, a feature rich version, costs $30.
See the SyncBack version comparison chart for details.
|
| Online Backup |
Mozy

| Free |
Off-site backups give maximum backup protection. Mozy is free for under 2GB with no credit card required.
Unlimited backup space is available for $4.95 per month.
|
|
Back to My Super PC - Home Page
How To Build A Computer. Step By Step Instructions To Assemble. Skip To Any Assembly Step.
Back to My Super PC - Home Page
© 2001-2015, Rob Williams, all rights reserved.
|

|