Computer Assembly - How To Assemble A PC
Driver Installation
Every hardware component has a software driver associated with it. Windows 7 has general purpose drivers built in that let most hardware components function to some sufficient degree, although usually not efficiently and probably not completely. So far a lot of hardware has been installed, but really nothing in the way of drivers. The next thing to do is install the drivers.
Getting Drivers To The New Computer
There are a number of ways to get the drivers that are needed over to the new computer.
A first way is to simply use the drivers that are provided on CD with the corresponding hardware. This is nice and easy, but it has a downside. It's a certainty that the drivers that are on the CD are older than the latest ones available as a download from the component maker's web-site. You may even run into a driver CD that does not include a compatible driver for the operating system being used, such as Windows 7, even though the operating system has been available for some time. But one of the superior qualities of building your own computer is knowing that it has the latest drivers for everything. So as much as possible, I prefer to go to the manufacturer's web-site to retrieve the latest copy.
A second way to get drivers is to download the drivers directly to the computer. In this case, the next order of business is to get the online hardware working, either the built-in LAN support of the motherboard or installing a modem. Even so, you may need to use the first option to install the driver for the modem itself.
A third way is to download them on another computer, burn them to a CD on that computer, bring the CD over to the new computer and then copy them onto the new computer. This works well if you have access to another computer where you can download drivers and burn CD's.
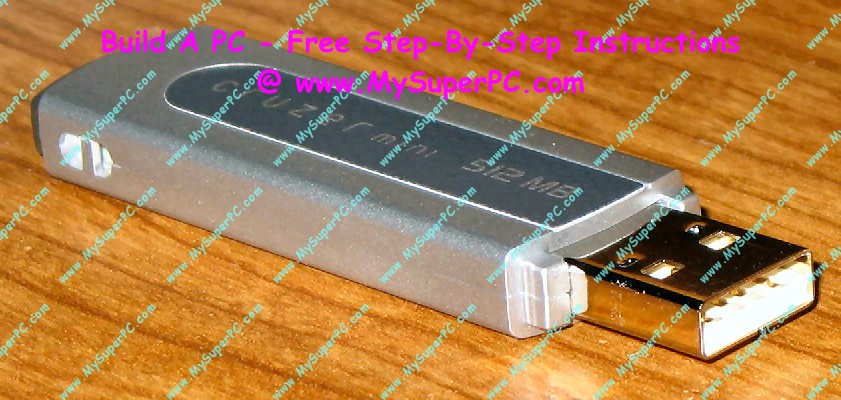
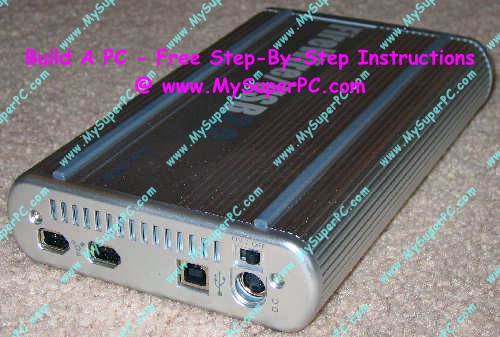
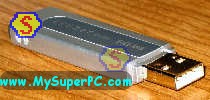
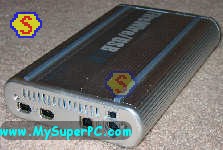
Or instead of burning the drivers to a CD, use a portable mass media device, such as a USB thumb drive like the one shown on the left, or a portable hard drive such as the IDE hard drive placed inside an external hard drive enclosure that connects to the computer using either IEEE 1394 FireWire or USB, like the one shown on the right. Either will be recognized and function properly at this point in the PC assembly.
Install the Motherboard Chipset Drivers
The Gigabyte P55A-UD4P motherboard uses Intel chipset drivers. While a number of motherboards use this package, many do not. It's very important to install the motherboard chipset drivers since otherwise computer performance is dramatically reduced. Here are links to where you can find the drivers for the most popular motherboard chipsets.
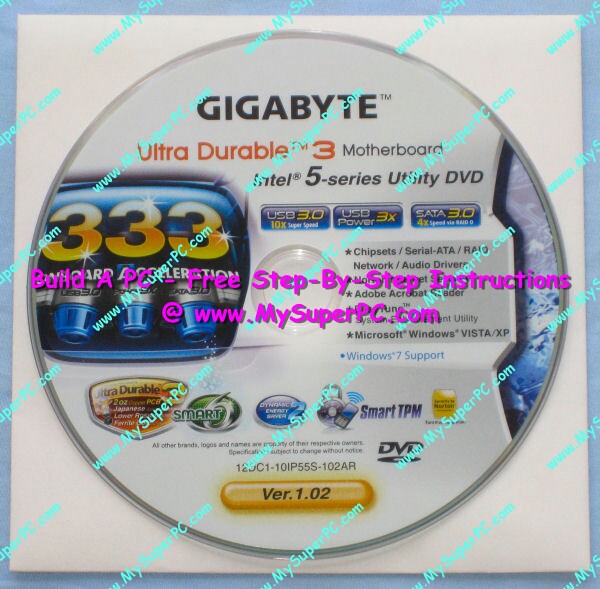
The Gigabyte P55A-UD4P motherboard comes with a Utility DVD as shown below.
This Gigabyte P55A-UD4P Utility DVD includes the motherboard chipset drivers and audio drivers. These should be fine, but they will naturally be somewhat out of date compared to what can be downloaded from the motherboard maker or chipset maker. On the other hand, using the DVD is quite convenient.
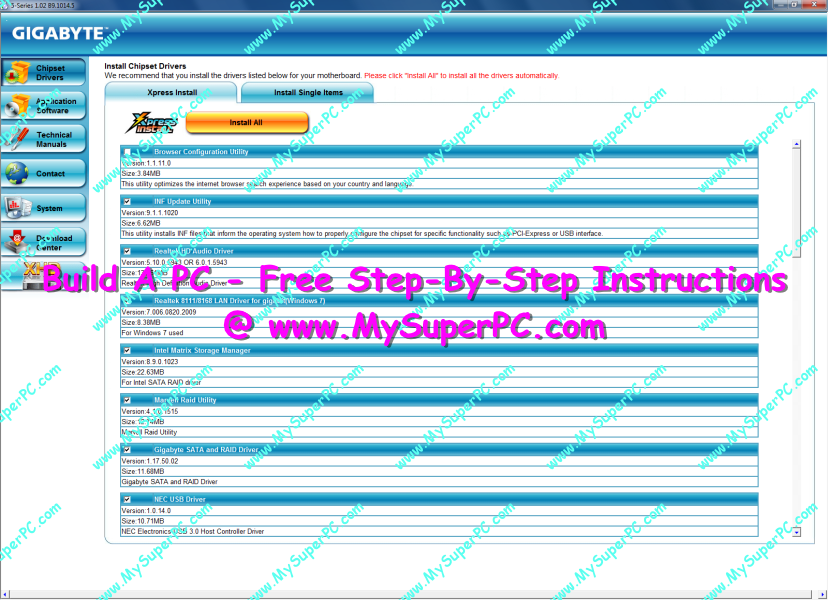
Insert the DVD into the optical drive. The utility will start-up automatically.
Here is the startup menu presented by the utility. I allowed all of the utilities and drivers to be installed except for the Browser Configuration Utility.
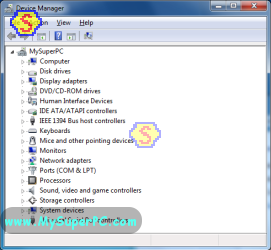
During the installation, the computer is restarted two or three times. After the installation is complete, looking again at the Device Manager shows that all of the driver issues have been resolved.
Install the Video Card Drivers
There are two types of video cards. Those based on technology made by
NVIDIA and those based on technology made by ATI. The brands are
numerous, including ATI, Sapphire, ABIT, ASUS, Chaintech, Leadtek,
Gigabyte and so on, but the technology comes down to one or the other.
Both technologies make for excellent video cards.
The CD's that come in the retail package of the video card can be used
to install the video card driver, with the usual trade-off of
convenience (at least in terms of locating and retrieving the driver)
versus the more up-to-date functionality available in the downloaded
driver. It's unfortunately not possible to assume one is "better" than
another in terms of trouble-free installation and performance. I've had
trouble with both the retail packaged driver on the CD - which is quite
aggravating as you can imagine - as well as a downloaded version, but
not to any chronic extent in either case.
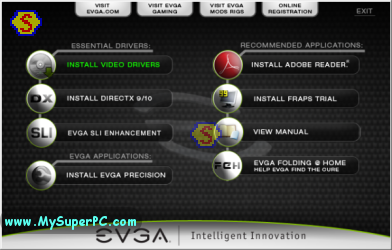
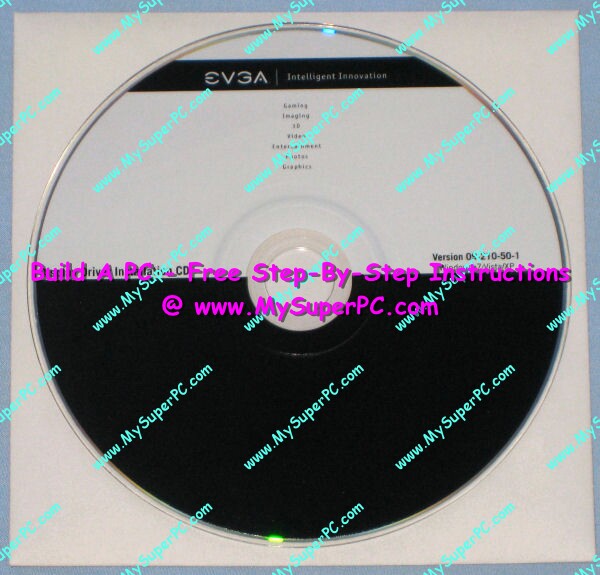
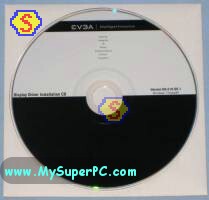
The Gigabyte P55A-UD4P motherboard comes with a Driver Installation CD as shown below.
Insert the CD into the optical drive. The utility starts-up automatically and displays the menu shown below. Click on Install Video Drivers.
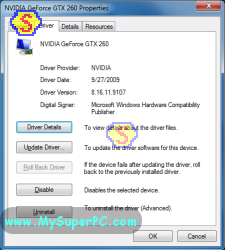
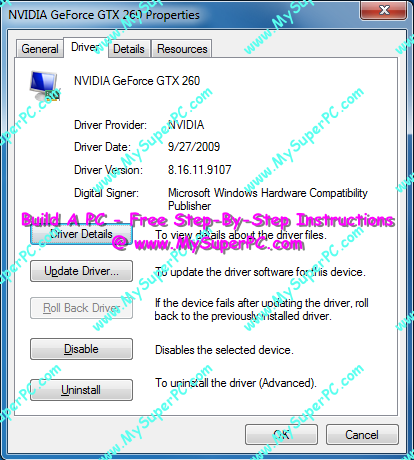
Once the installation completes, restart the computer. To verify the driver is installed, expand the Display Adapters entry in the Device Manager. Click on the display adapter, and then click on the Driver tab.
Back to My Super PC - Home Page
How To Build A Computer. Step By Step Instructions To Assemble. Skip To Any Assembly Step.
Back to My Super PC - Home Page
© 2001-2015, Rob Williams, all rights reserved.
|

|
 During the installation, the computer is restarted two or three times. After the installation is complete, looking again at the Device Manager shows that all of the driver issues have been resolved.
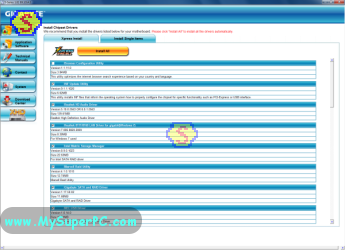
 Once the installation completes, restart the computer. To verify the driver is installed, expand the Display Adapters entry in the Device Manager. Click on the display adapter, and then click on the Driver tab.