Computer Assembly - How To Assemble A PC
Install The Processor Onto The Motherboard
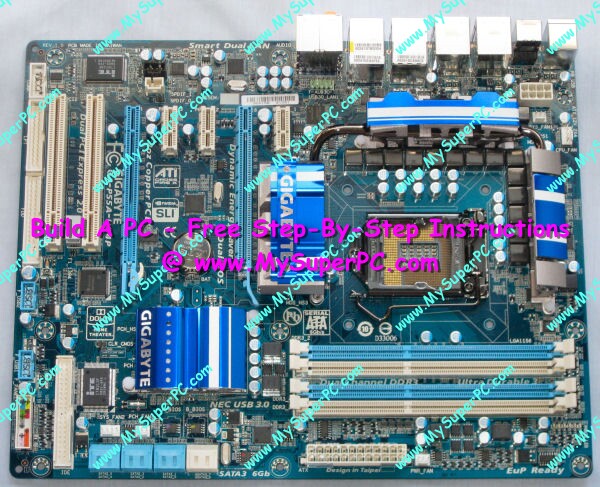
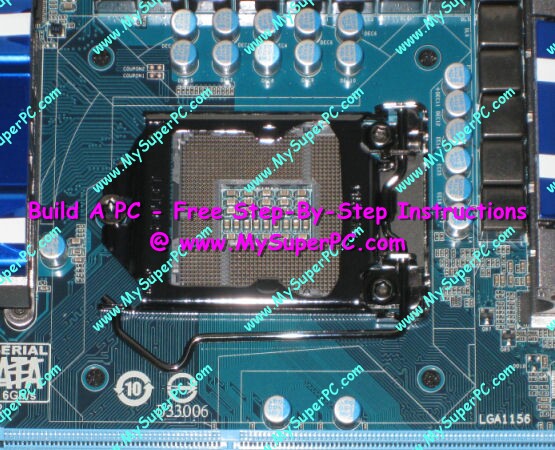
Installing the processor onto the motherboard is quite easy. The processor plugs into the processor socket on the motherboard.
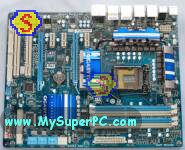
The processor socket is the large square in the center right-hand portion of the motherboard in this picture. 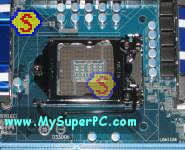
The processor is installed using Zero Insertion Force (ZIF). The ZIF is provided by the metal insertion arm shown at the bottom of the square socket. 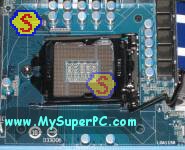
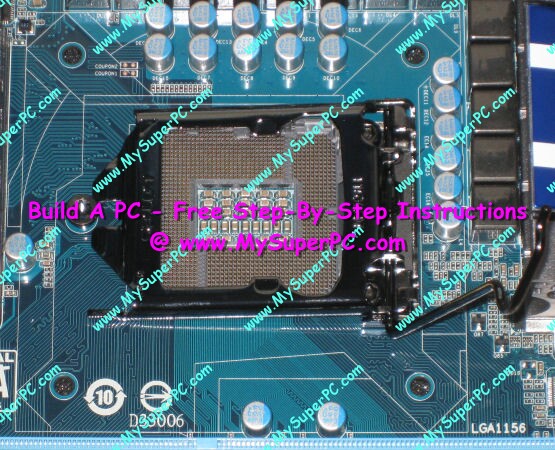
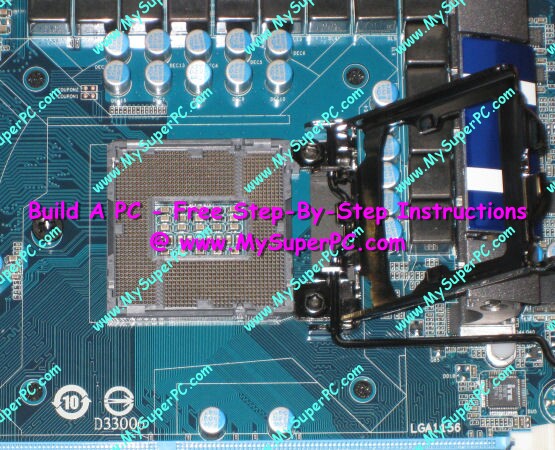
Lift the metal insertion arm into the full upright position. 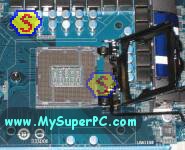
Lift the metal cover into the upright position. 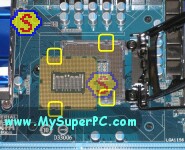
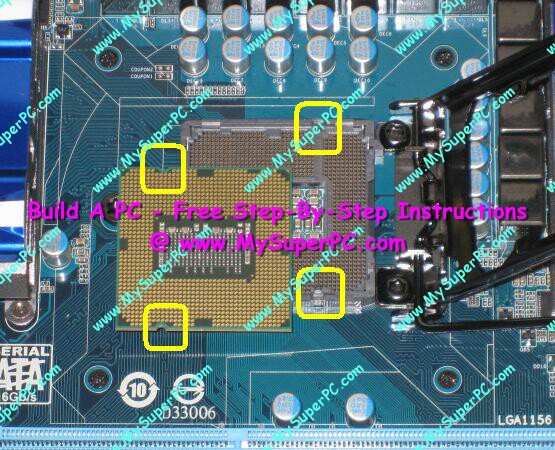
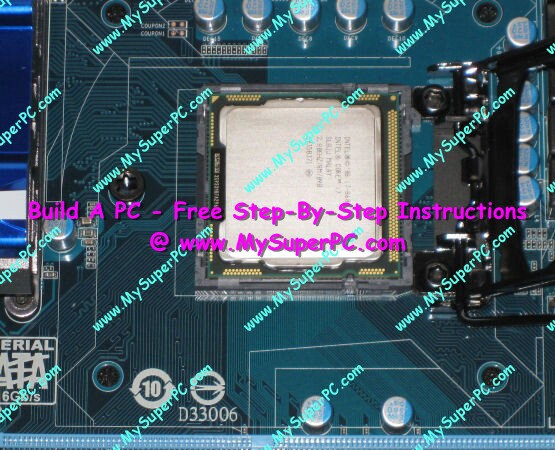
This picture shows the underside of the Intel Core i7 processor to show how it is keyed for the socket. Circled are two gaps in the processor and two notches in the socket. Align the gaps on the processor with the notches and insert the processor into the socket. 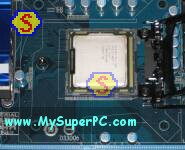
The processor should lay flat and flush with the socket. It should not be necessary to press or force the processor into the socket. 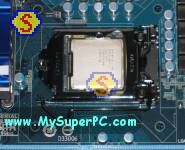
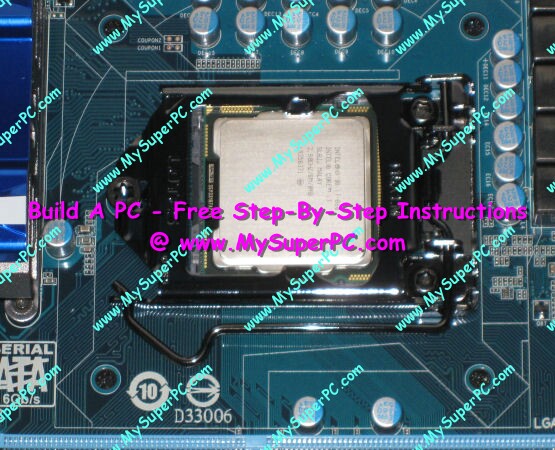
Lower the cover and insertion arm and lock the insertion arm into place, securing the processor. It should look like this.
Back to My Super PC - Home Page
How To Build A Computer. Step By Step Instructions To Assemble. Skip To Any Assembly Step.
Back to My Super PC - Home Page
© 2001-2015, Rob Williams, all rights reserved.


|
My Tutorials Build, Upgrade Help |
|---|
| Computer Memory Upgrade |
| Hard Drive Upgrade |
| Video Card Upgrade |
| My Super PC |
| Even More Help |
|---|
| MySuperPC Forums |
| Great prices on computer parts |
|---|
|
Crucial |
|
Crucial UK & Europe |
|
Newegg |
| PCMicroStore |
|
TigerDirect |
|
ZipZoomFly |
| Great software prices |
|---|
| Amazon |
| Deals and Rebates |
|---|
|
Amazon Specials |
|
Newegg Rebates
|
|
TigerDirect Bundles |
|
ZipZoomFly Rebates
|
| Web Hosting |
|---|
|
GoDaddy
|
|
iPower
|
|
Yahoo! Web Hosting
|
| Utilities |
|---|
|
Carbonite Backups
|
|
Mozy Backups
|
|
Norton AntiVirus, Tools
|
|
PC Tools
|
| Laptops |
|---|
|
HP Laptop Deals
|
|
Sony VAIO Wide Screen
|
| Buy The Book! |
|---|

|
| Info |