Computer Assembly - How To Assemble A PC
Connect The Motherboard To The Power Supply
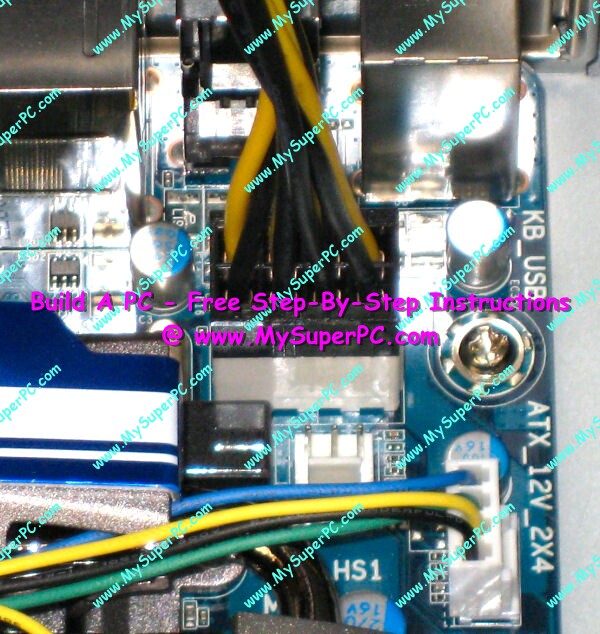
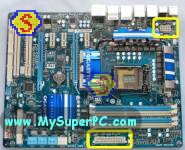
The Gigabyte P55A-UD4P motherboard is ready to be connected to the power supply. There are three connections to be made. There is the 8-pin power connector shown circled in yellow at the top-center of the picture, the 24-pin power connector shown circled in yellow at the bottom-center of the picture, and the 3-pin power supply exhaust fan connector shown circled in yellow at the bottom-left of the picture.
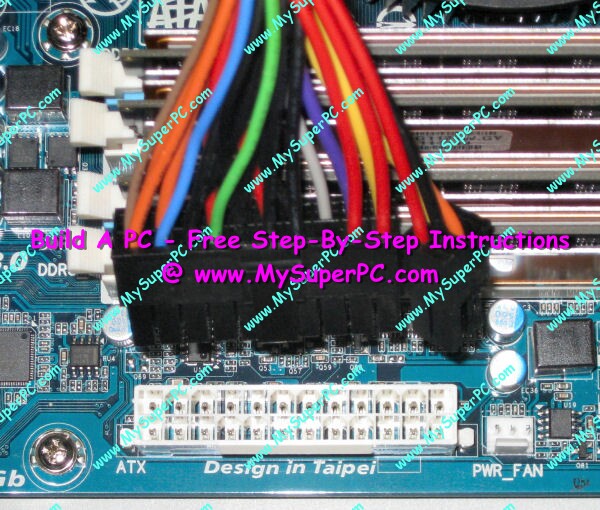
Sort out the 24-pin power plug from the power supply. It looks as shown below. Notice there are 24 holes at the end of the plug arranged 2 x 12.
Insert the 24-pin power plug from the power supply into the 24-pin connector on the motherboard. It should click into place. If it needs to be unplugged, it should not slide right out - it should be necessary to squeeze the locking clip as it's removed. The connection is keyed so they can only be connected in one way.
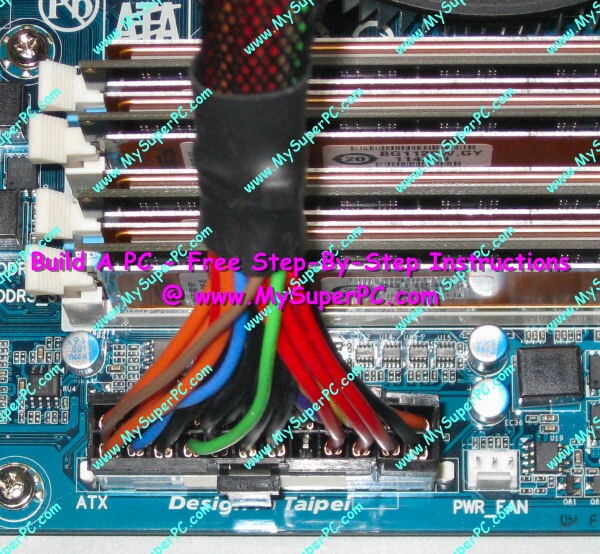
Once inserted, it looks like this.
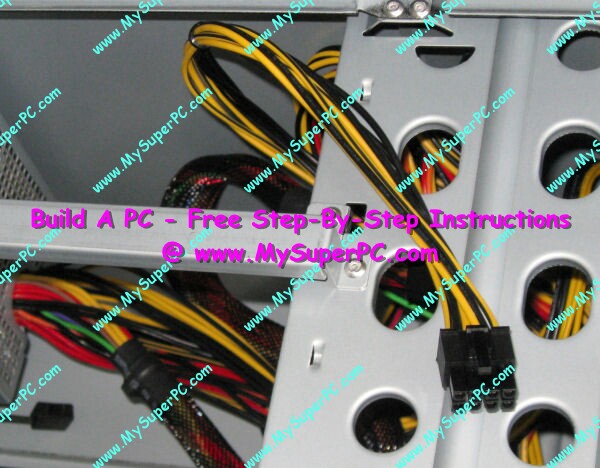
Find the 8-pin power plug coming from the power supply. It looks as shown below.
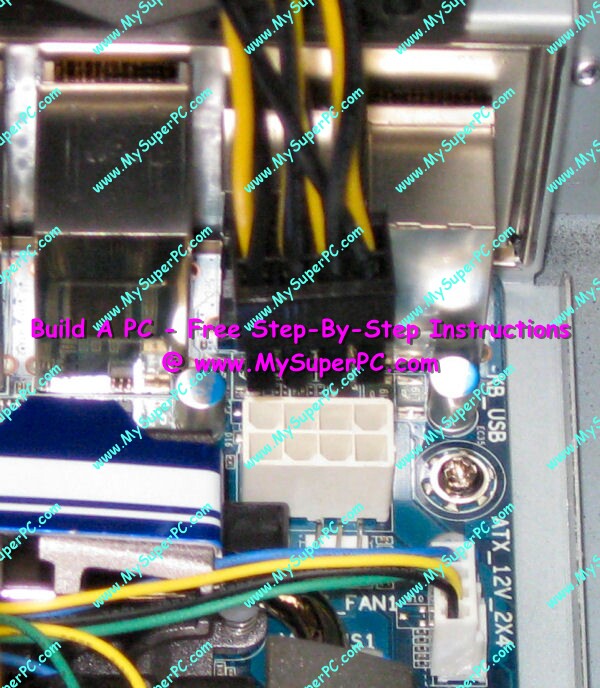
Insert the 8-pin power plug from the power supply into the 8-pin connector on the motherboard. Like the 24-pin plug, it should click into place, and to unplug it's necessary to squeeze the locking clip as it's removed. The connection is keyed so they can only be connected in one way.
Once inserted, it looks like this.
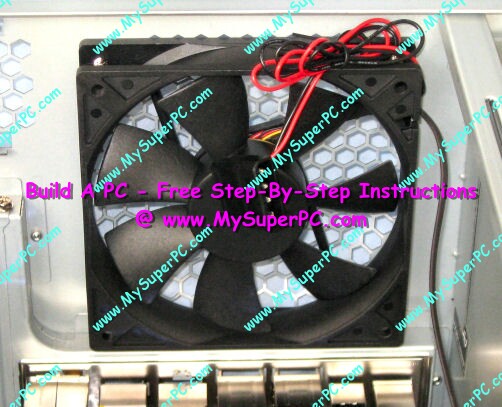
The computer case exhaust fan should also be connected to the power supply. The computer case fan in the Antec Sonata 3 has a 4-pin connector, as can be seen dangling in front of the fan in the picture below. Other case fans may have a 3-pin connector.
Select one of the 4-pin power plugs coming from the power supply. It looks as shown below.
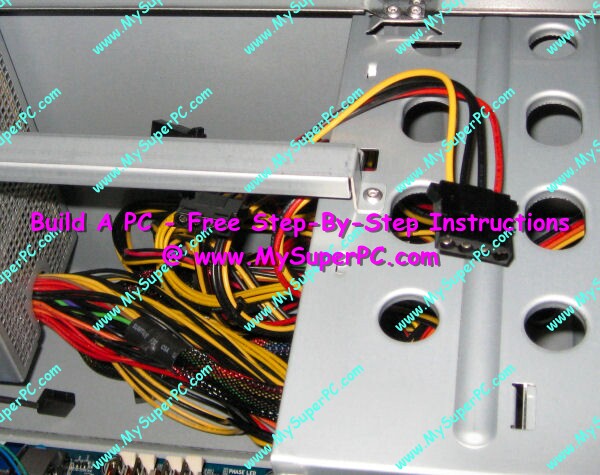
This is how it looks when connected.
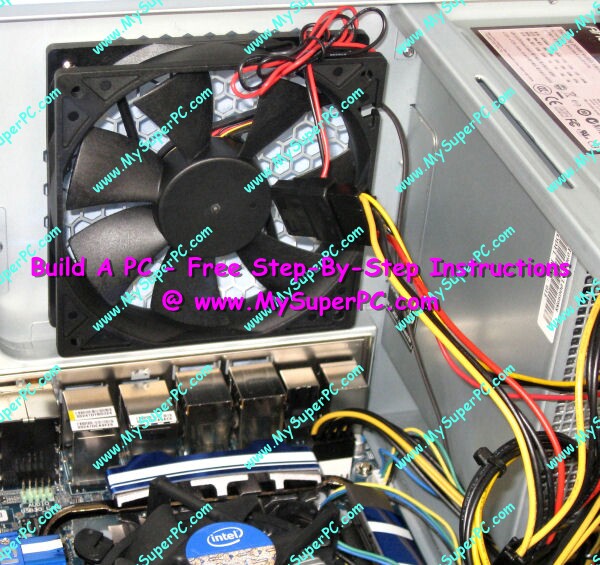
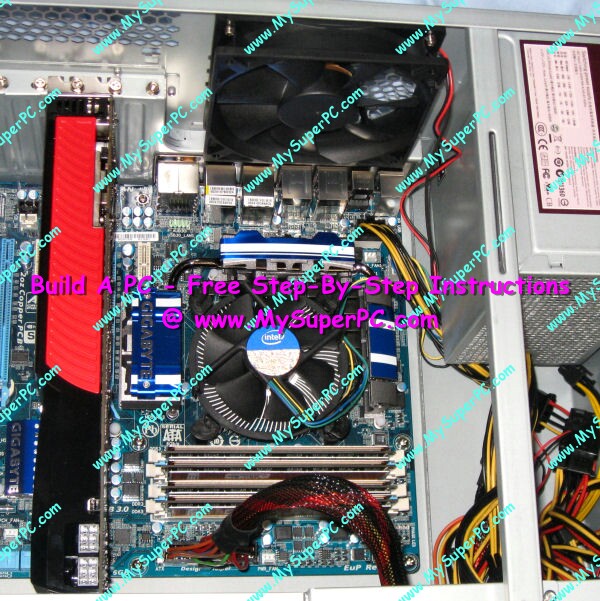
Here's how the interior of the computer case looks now with these connections made for the exhaust fan and power supply. The wires have been run to keep them out of the way of the airflow inside the computer case and away from the spinning blades of the CPU cooler fan.
Back to My Super PC - Home Page
How To Build A Computer. Step By Step Instructions To Assemble. Skip To Any Assembly Step.
Back to My Super PC - Home Page
© 2001-2015, Rob Williams, all rights reserved.
|

|
 Insert the 24-pin power plug from the power supply into the 24-pin connector on the motherboard. It should click into place. If it needs to be unplugged, it should not slide right out - it should be necessary to squeeze the locking clip as it's removed. The connection is keyed so they can only be connected in one way.
 Once inserted, it looks like this.
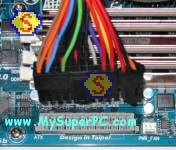 Find the 8-pin power plug coming from the power supply. It looks as shown below.
 Insert the 8-pin power plug from the power supply into the 8-pin connector on the motherboard. Like the 24-pin plug, it should click into place, and to unplug it's necessary to squeeze the locking clip as it's removed. The connection is keyed so they can only be connected in one way.
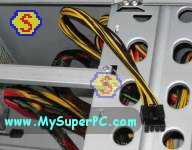 Once inserted, it looks like this.
 The computer case exhaust fan should also be connected to the power supply. The computer case fan in the Antec Sonata 3 has a 4-pin connector, as can be seen dangling in front of the fan in the picture below. Other case fans may have a 3-pin connector.
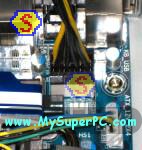 Select one of the 4-pin power plugs coming from the power supply. It looks as shown below.
 This is how it looks when connected.
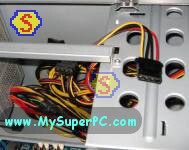 Here's how the interior of the computer case looks now with these connections made for the exhaust fan and power supply. The wires have been run to keep them out of the way of the airflow inside the computer case and away from the spinning blades of the CPU cooler fan.