Computer Assembly - How To Assemble A PC
Install Windows 7
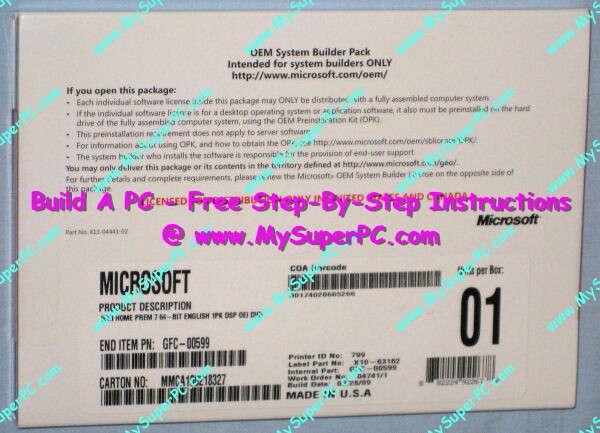
The Windows operating system I'm using is Windows 7 Home Premium. I purchased the OEM version.
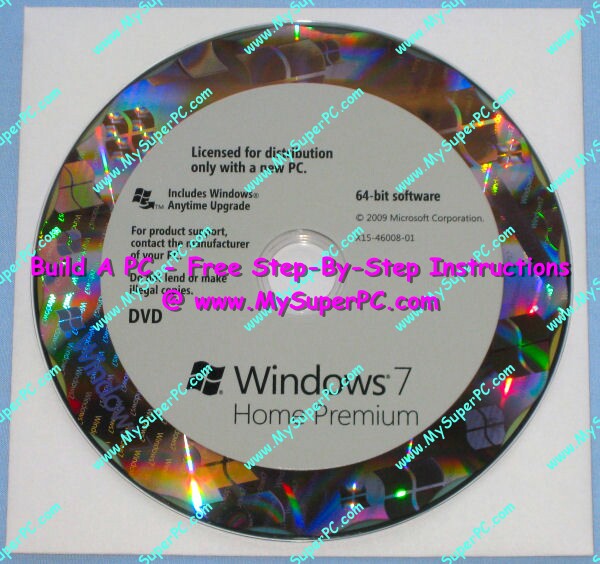
The Windows 7 Home Premium DVD is inside.
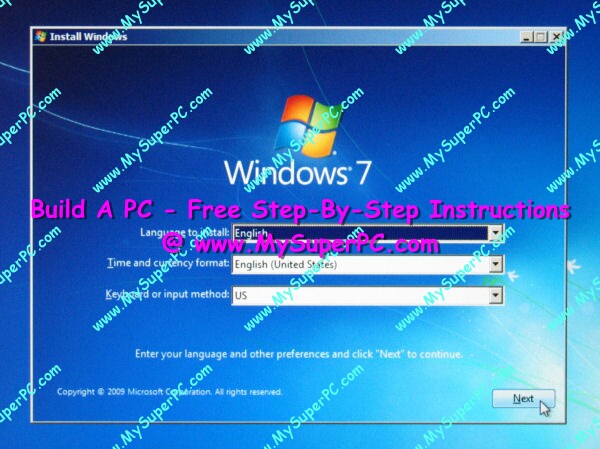
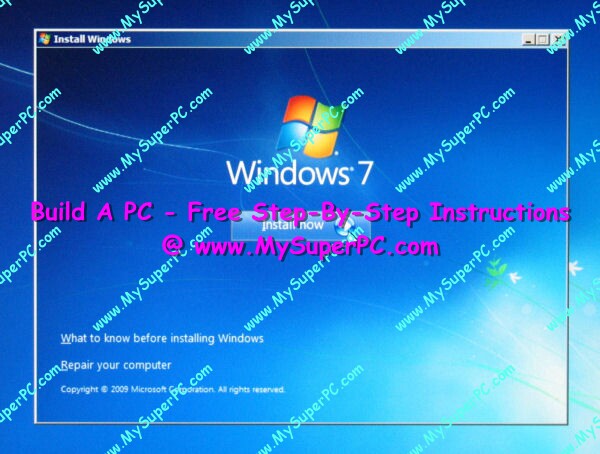
At this point the computer is waiting to be rebooted after having quit the Data Lifeguard Diagnostic utility. The computer is still configured in the BIOS to use the optical drive as the first boot device, so that's good. Insert the Windows 7 Home Premium DVD into the optical drive. Push the Reset button on the front of the computer to have it reboot. Let it proceed and it will access and boot from the optical drive. You may get a prompt that says "Press any key to boot from CD or DVD". A "Windows Setup" screen appears and lasts for about a minute while generic driver installation is performed. After this, here is the first screen you get for the Windows 7 Home Premium install, the Language Preferences screen. Make your selections and click the "Next" button.
The Install screen appears. Click the "Next" button.
Setup begins.
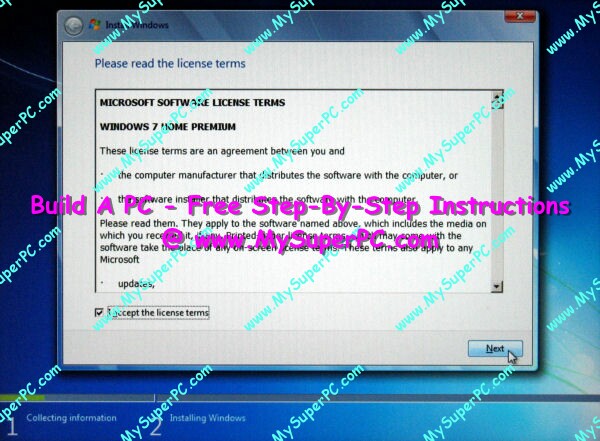
The License screen appears. Check the box to accept the terms and click the "Next" button.
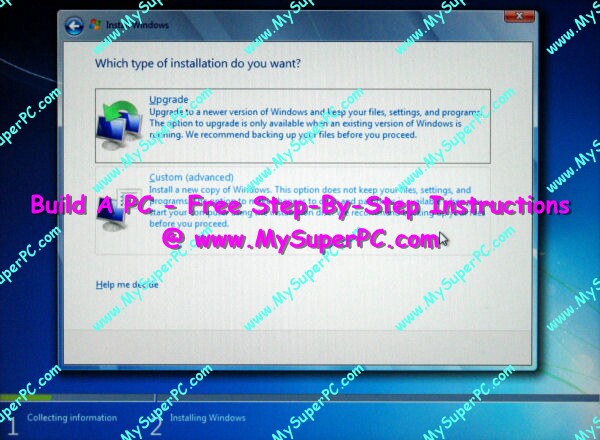
The Install Option screen appears. For installing on a clean hard drive, click on the "Custom" option.
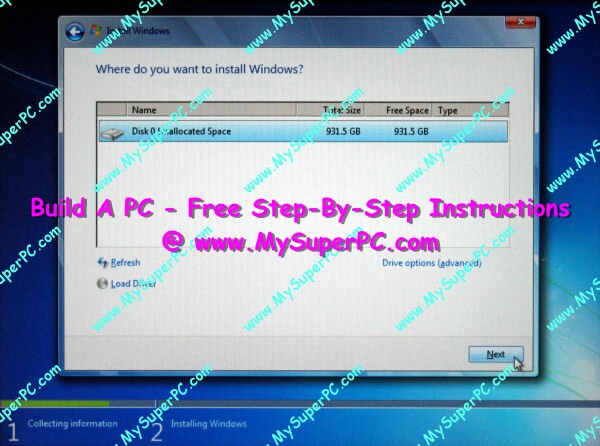
The Drive Selection screen appears. There's only one hard drive in My Super PC. Select the hard drive and click the "Next" button.
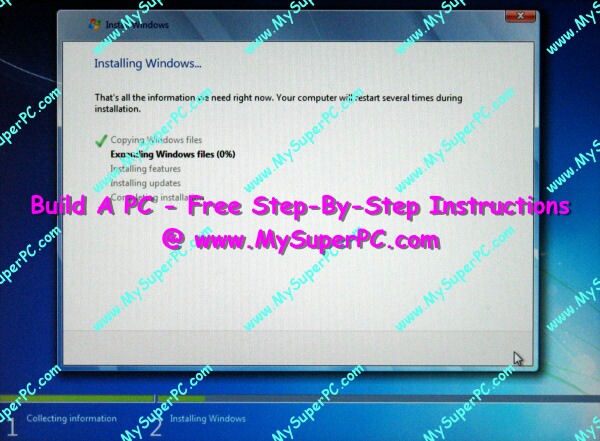
Installation begins.
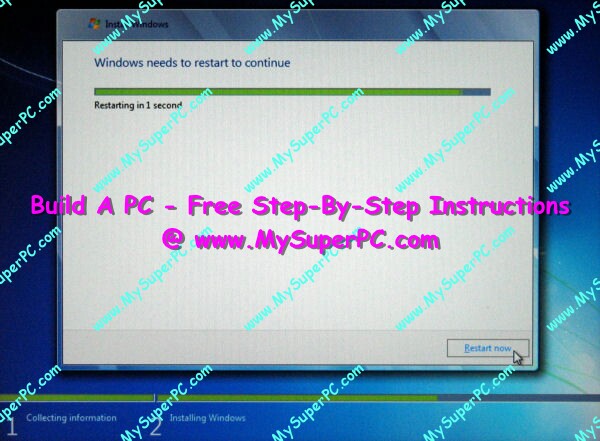
The computer is automatically restarted during the install. You may see a "Press any key to boot from CD or DVD..." when the computer starts to reboot. If so then just ignore it.
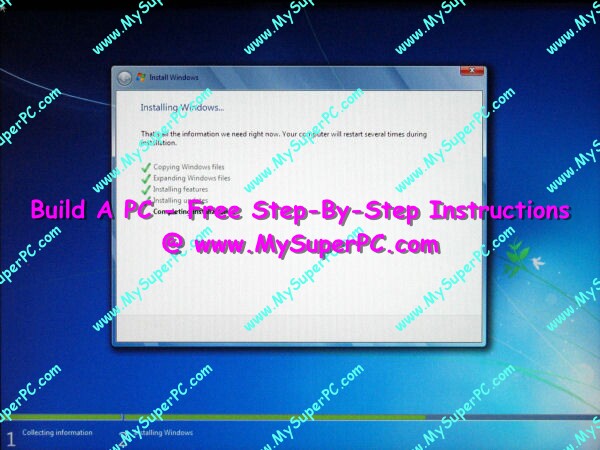
Installation continues.
The computer is again automatically restarted. Again, you may see a "Press any key to boot from CD or DVD..." when the computer starts to reboot. If so then just ignore it.
The User Account screen is displayed. Enter a user name and a name for your computer. Then click the "Next" button.
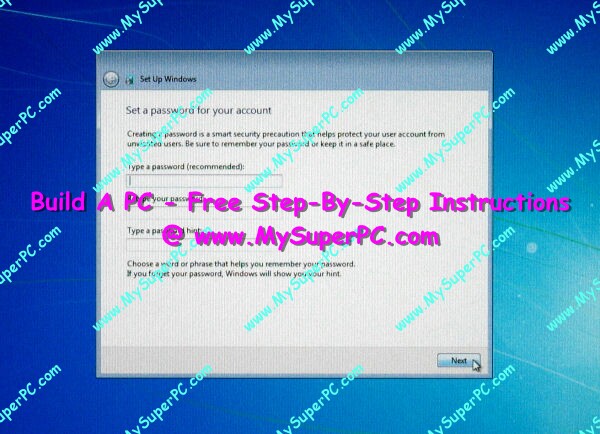
The Password screen is displayed. If you don't want a password then leave the fields blank, otherwise complete the fields. Click the "Next" button.
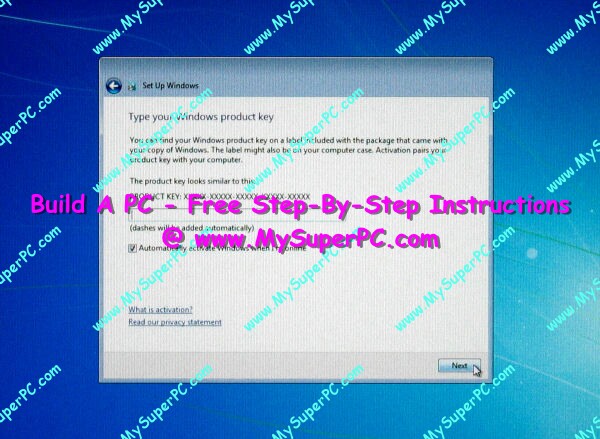
The Product Key screen is displayed. Enter the Product Key for your copy of Windows 7 which can be found as directed on the screen. There is also a check box to automatically activate Windows when you're online. Then click "Next".
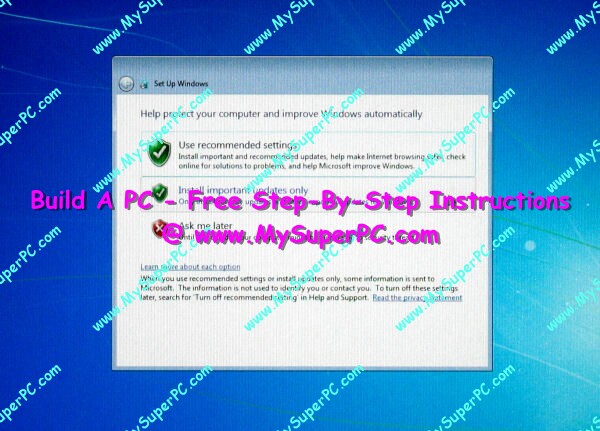
The Windows Update screen is displayed. Select the option you prefer and click the "Next" button.
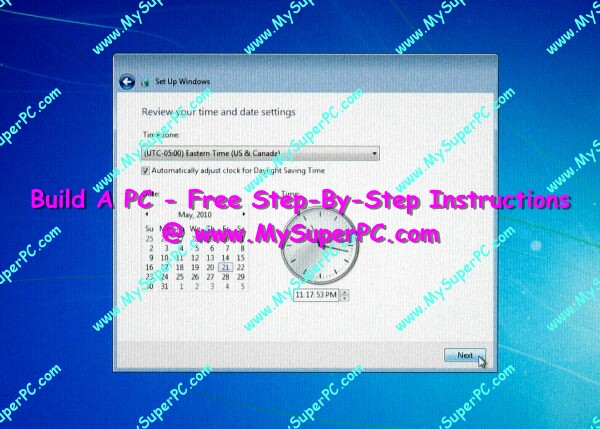
The Date and Time screen is displayed. Select your time zone and verify the date and time is correct. There is also a checkbox for automatically adjusting for Daylight Savings Time. Then click the "Next" button and...
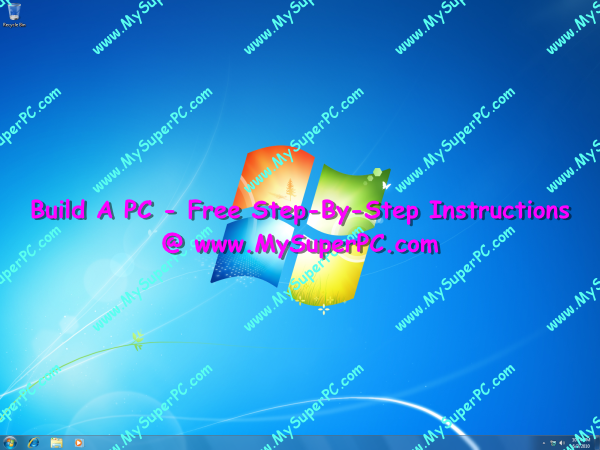
...you're there!!
Wow! How cool is this? To have a pristine computer at your fingertips. Here we sit with Windows 7 installed on the hard drive and nothing else. Kind of creepy to be looking at so much empty. And a bit scary, too. Up until now we've been dealing with mostly hardware. Windows 7 is the first software to be installed.
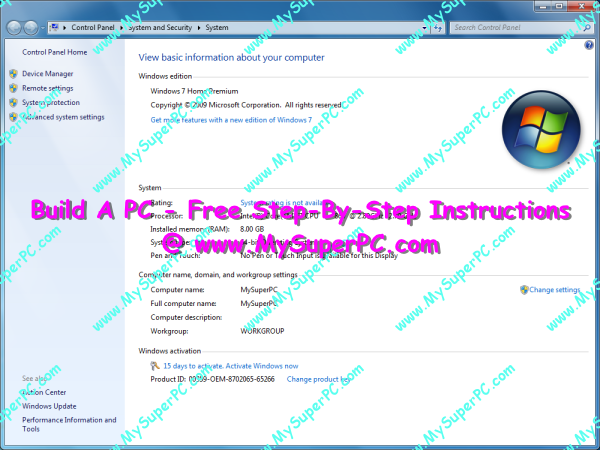
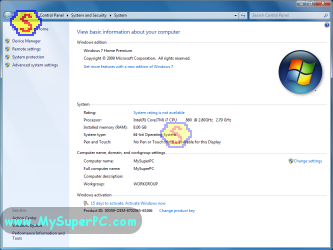
To get a first look at your devices as you'll be seeing them for the most part from here on out, click on Start, right-click on My Computer, then click on the Properties option, which brings up something like this.
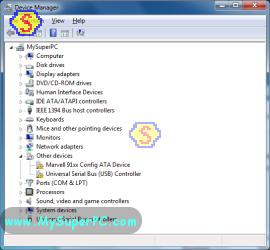
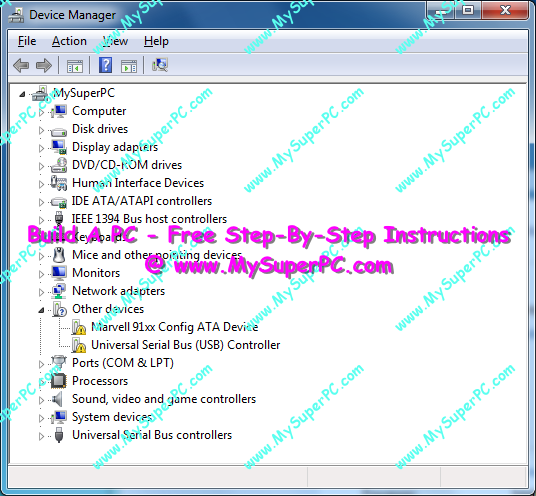
After installing the operating system or any new hardware it's important to look at the Device Manager to see if there are any problems. From here, click on the Device Manager link. Sure enough, two devices have been expanded and tagged with a big yellow exclamation symbols. These will get cleared after the device drivers are installed, such as the drivers for the motherboard and video card.
Remove the Windows 7 Home Premium DVD from the optical drive.
Don't forget to change the BIOS settings for the Boot Device Priority to what you want (I use only the hard drive as a boot device). Shut the computer down. Turn the computer back on, enter the BIOS, and update the boot device settings. Save the BIOS settings and allow the computer to boot to the desktop.
Common Problems
Many of the problems I've seen during the actual Windows 7 install were due to the BIOS settings. While Windows 7 is installing the computer is doing an extensive amount of processing and disk input/output. If the Windows 7 install completes successfully then you can have some confidence that your BIOS settings are good. Here are the problems I've seen due to improper BIOS settings:
The install hangs-up (the computer freezes).
An error message that says something like "Windows has detected a problem with your computer. This could be caused by bad drivers". That may not be the exact text of the message, but it's the gist of it, anyway.
My complete recommendations for building a computer with quality components at unbeatable
prices is on my home page at
Build A Computer
Like My Super PC - Cost To Build A Computer. Here again are the recommendations for Windows!
| Description
| Where I Would Get It Today
| Today's Price
| Comments
|
|---|
| Windows 10 Home 64-Bit |
Amazon
|
$96.93 |
Free shipping! OEM version, which is fine for building your own computer. Clicking the link takes you directly to it.
|
|
Back to My Super PC - Home Page
How To Build A Computer. Step By Step Instructions To Assemble. Skip To Any Assembly Step.
Back to My Super PC - Home Page
© 2001-2015, Rob Williams, all rights reserved.
|

|
 At this point the computer is waiting to be rebooted after having quit the Data Lifeguard Diagnostic utility. The computer is still configured in the BIOS to use the optical drive as the first boot device, so that's good. Insert the Windows 7 Home Premium DVD into the optical drive. Push the Reset button on the front of the computer to have it reboot. Let it proceed and it will access and boot from the optical drive. You may get a prompt that says "Press any key to boot from CD or DVD". A "Windows Setup" screen appears and lasts for about a minute while generic driver installation is performed. After this, here is the first screen you get for the Windows 7 Home Premium install, the Language Preferences screen. Make your selections and click the "Next" button.
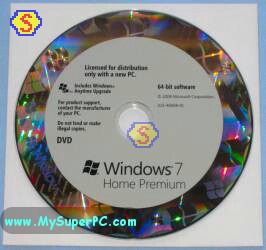 The Install screen appears. Click the "Next" button.
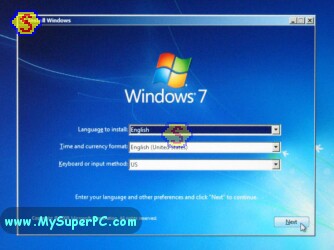 Setup begins.
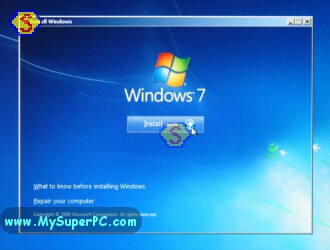 The License screen appears. Check the box to accept the terms and click the "Next" button.
 The Install Option screen appears. For installing on a clean hard drive, click on the "Custom" option.
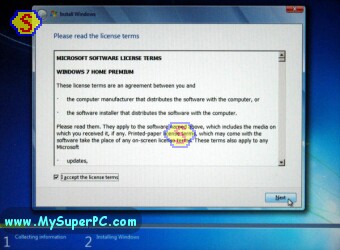 The Drive Selection screen appears. There's only one hard drive in My Super PC. Select the hard drive and click the "Next" button.
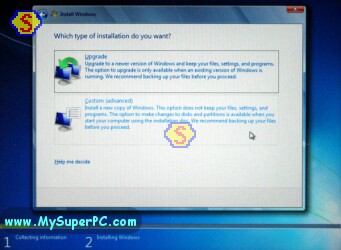 Installation begins.
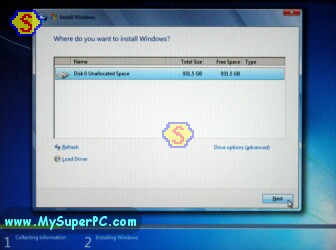 The computer is automatically restarted during the install. You may see a "Press any key to boot from CD or DVD..." when the computer starts to reboot. If so then just ignore it.
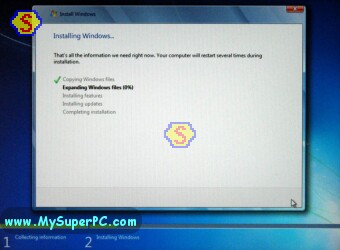 Installation continues.
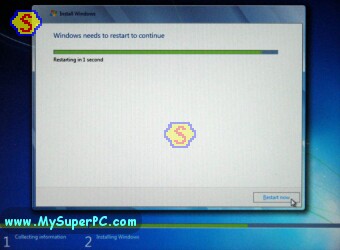 The computer is again automatically restarted. Again, you may see a "Press any key to boot from CD or DVD..." when the computer starts to reboot. If so then just ignore it.
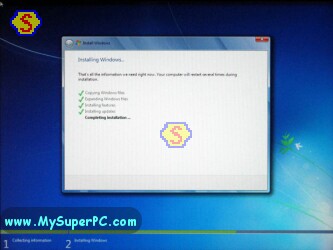 The User Account screen is displayed. Enter a user name and a name for your computer. Then click the "Next" button.
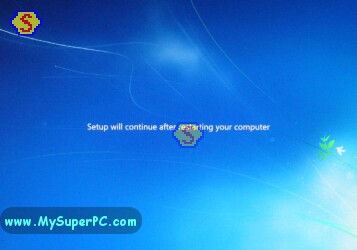 The Password screen is displayed. If you don't want a password then leave the fields blank, otherwise complete the fields. Click the "Next" button.
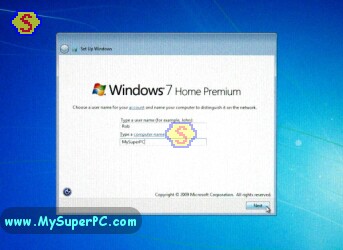 The Product Key screen is displayed. Enter the Product Key for your copy of Windows 7 which can be found as directed on the screen. There is also a check box to automatically activate Windows when you're online. Then click "Next".
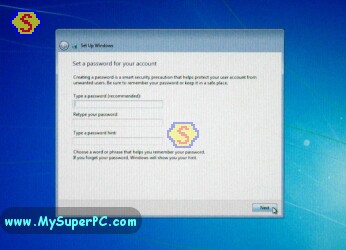 The Windows Update screen is displayed. Select the option you prefer and click the "Next" button.
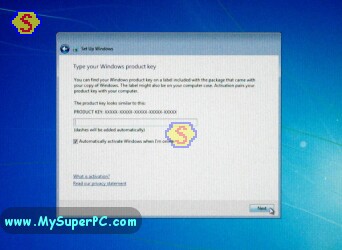 The Date and Time screen is displayed. Select your time zone and verify the date and time is correct. There is also a checkbox for automatically adjusting for Daylight Savings Time. Then click the "Next" button and...
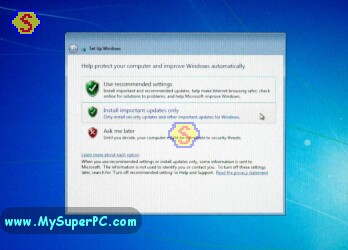 ...you're there!!
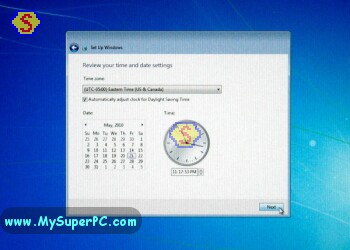 Wow! How cool is this? To have a pristine computer at your fingertips. Here we sit with Windows 7 installed on the hard drive and nothing else. Kind of creepy to be looking at so much empty. And a bit scary, too. Up until now we've been dealing with mostly hardware. Windows 7 is the first software to be installed.
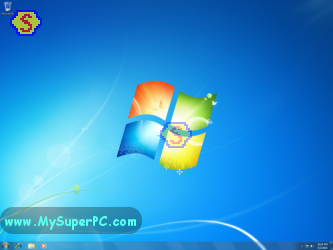
 Remove the Windows 7 Home Premium DVD from the optical drive.