Computer Assembly - How To Assemble A PC
Connect Front Panel USB and Audio
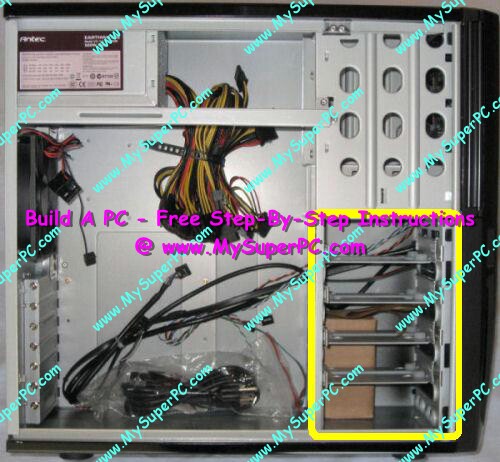
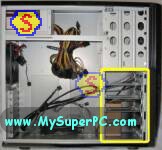
The Antec Sonata 3 computer case has three black cables for the Front Panel ports. There is one cable for the two USB ports, one cable for the headphones and microphone, and one cable for the eSATA port. The Gigabyte P55A-UD4P motherboard has on-board connectors for the USB cable and audio cable, but not for the eSATA cable. Since all three cables run behind the internal bays for the hard drive, it will be easier to connect the cables supported by the motherboard before installing the hard drives. The internal bays are located in the Antec Sonata 3 computer case as shown.
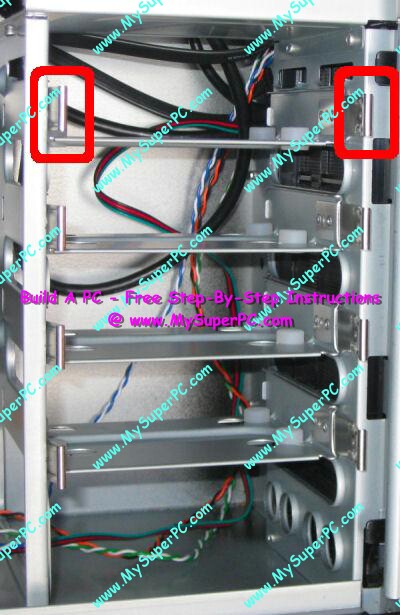
Here is a closer view of the bays. The locking clips are shown circled. Remove each of the drive trays one at a time by squeezing the two locking clips together and sliding each tray out.
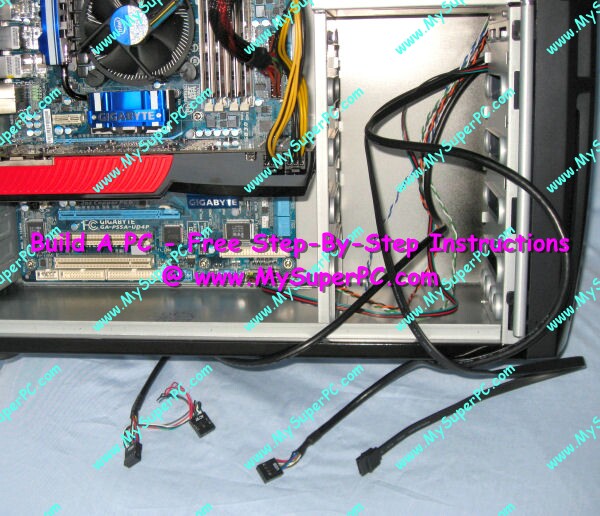
With all four drive trays removed, it's easy to untangle the front system panel cables.
The audio cable on the left has two connectors, one for HDA (High Definition Audio) and one for legacy AC'97 audio. The USB connector is in the middle and supports both USB ports on the front panel of the computer case. The eSATA cable on the right will not be used since there is no on-board support for eSATA on the Gigabyte P55A-UD4P motherboard. However, it could be used if front panel access for eSATA is desired by installing an add-on eSATA card.
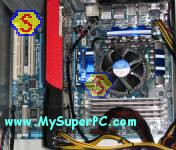
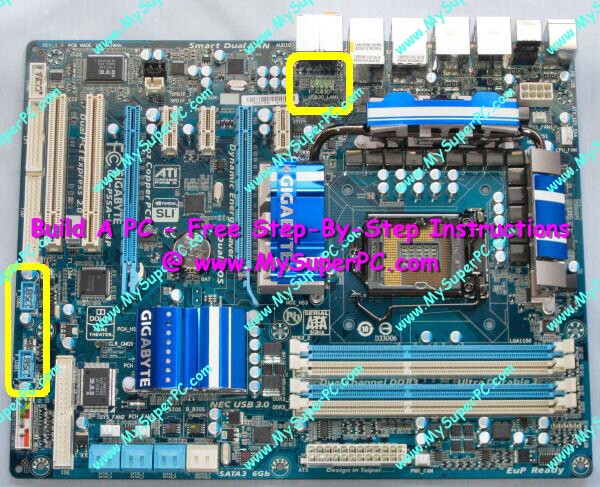
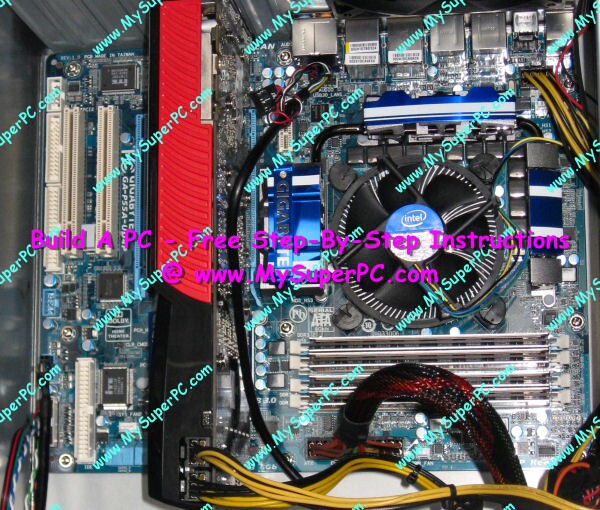
The Gigabyte P55A-UD4P motherboard has two on-board USB headers, shown circled in the lower-left of the picture. It doesn't matter which one is used for the front panel USB cable. The audio header is shown circled near the top-center.
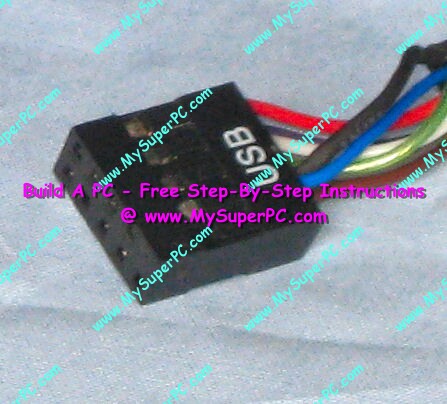
The audio and USB connectors are keyed for the header with a blocked pin hole so it's impossible to plug it in the wrong way around. Notice in the picture below that the USB connector has a blocked pin hole in the top-right position. A different pin hole position is blocked for the audio and USB connectors, so it's impossible to plug a connector into the wrong header.
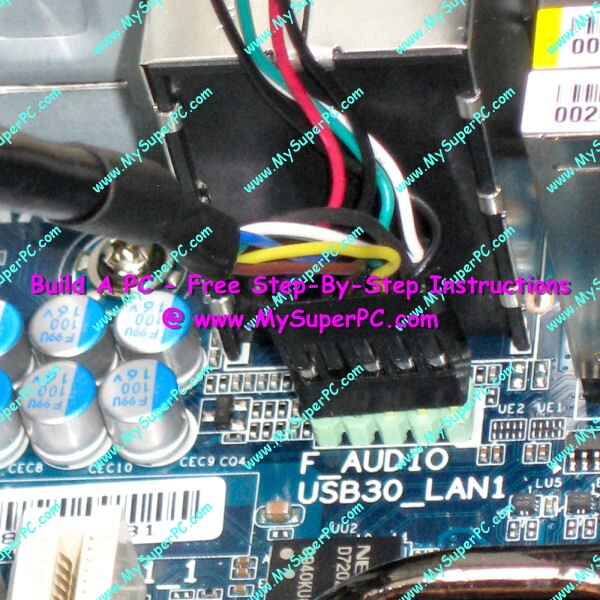
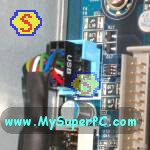
Plug each cable into its appropriate header. For audio, the HDA connector and AC'97 connector are identical plugs, so either one can be used depending on what the motherboard supports. Since the Gigabyte P55A-UD4P motherboard supports the newer HDA, this is the connector that is used.
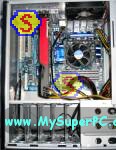
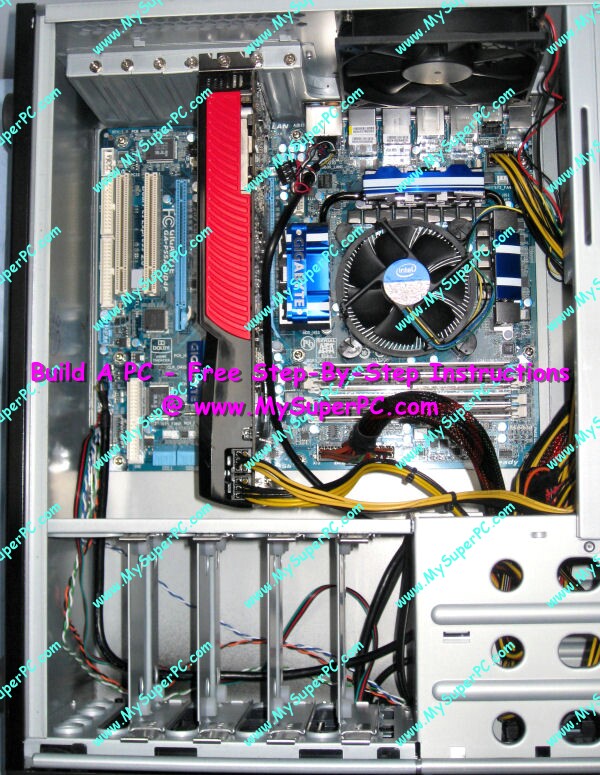
With these connections made and the eSATA cable tucked out of the way, the interior of the computer looks like this.
Re-insert the drive bays back into the computer cased.
Back to My Super PC - Home Page
How To Build A Computer. Step By Step Instructions To Assemble. Skip To Any Assembly Step.
Back to My Super PC - Home Page
© 2001-2015, Rob Williams, all rights reserved.
|

|
 With all four drive trays removed, it's easy to untangle the front system panel cables.
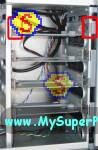 The audio cable on the left has two connectors, one for HDA (High Definition Audio) and one for legacy AC'97 audio. The USB connector is in the middle and supports both USB ports on the front panel of the computer case. The eSATA cable on the right will not be used since there is no on-board support for eSATA on the Gigabyte P55A-UD4P motherboard. However, it could be used if front panel access for eSATA is desired by installing an add-on eSATA card.
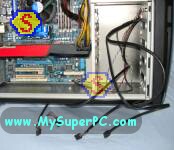 The Gigabyte P55A-UD4P motherboard has two on-board USB headers, shown circled in the lower-left of the picture. It doesn't matter which one is used for the front panel USB cable. The audio header is shown circled near the top-center.
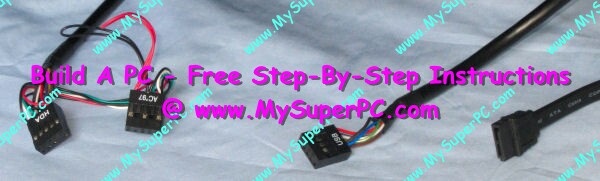 The audio and USB connectors are keyed for the header with a blocked pin hole so it's impossible to plug it in the wrong way around. Notice in the picture below that the USB connector has a blocked pin hole in the top-right position. A different pin hole position is blocked for the audio and USB connectors, so it's impossible to plug a connector into the wrong header.
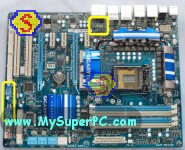 Plug each cable into its appropriate header. For audio, the HDA connector and AC'97 connector are identical plugs, so either one can be used depending on what the motherboard supports. Since the Gigabyte P55A-UD4P motherboard supports the newer HDA, this is the connector that is used.
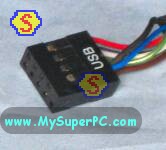 With these connections made and the eSATA cable tucked out of the way, the interior of the computer looks like this.
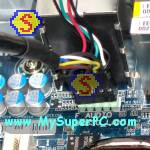
 Re-insert the drive bays back into the computer cased.